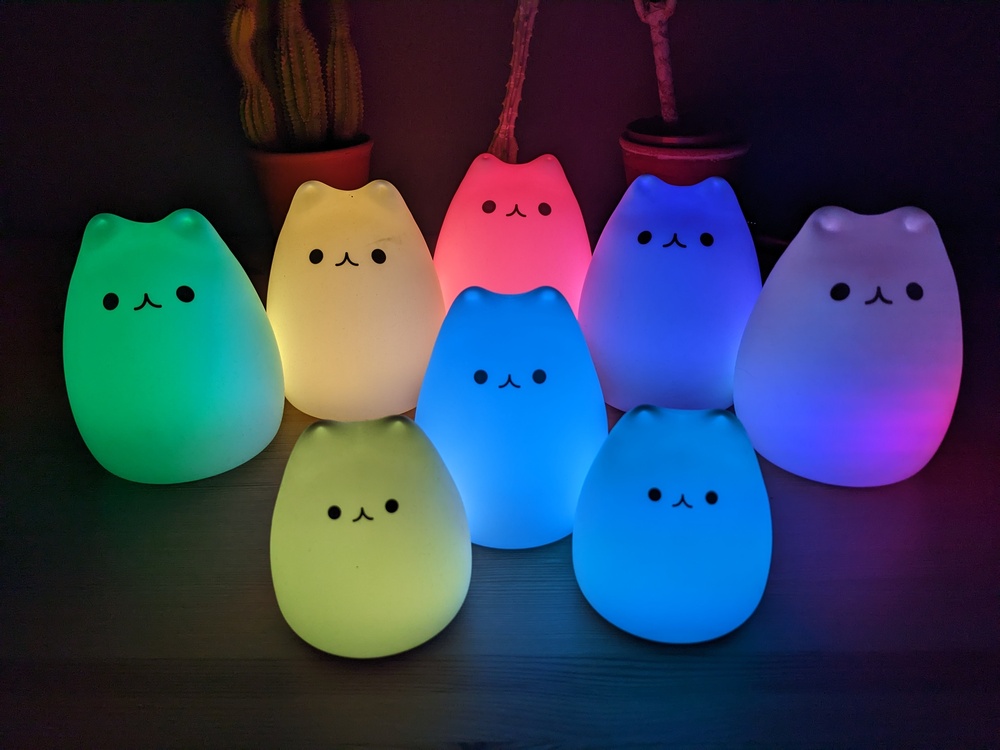

This project is based on ready-built cat night lights available on Amazon / eBay / AliExpress (and probably more). See also marble's BlinkenCat project on hackaday.io.
Blinkencats are sold in a variety of soft- and hardware configurations: Some use AAA batteries, others have LiIon built-in; some come with an IR remote; some have proper RGB fading, others use hard transitions between RGB colors.
This page mostly covers the variants with built-in LiIon battery. I have not really worked with an AAA blinkencat yet.
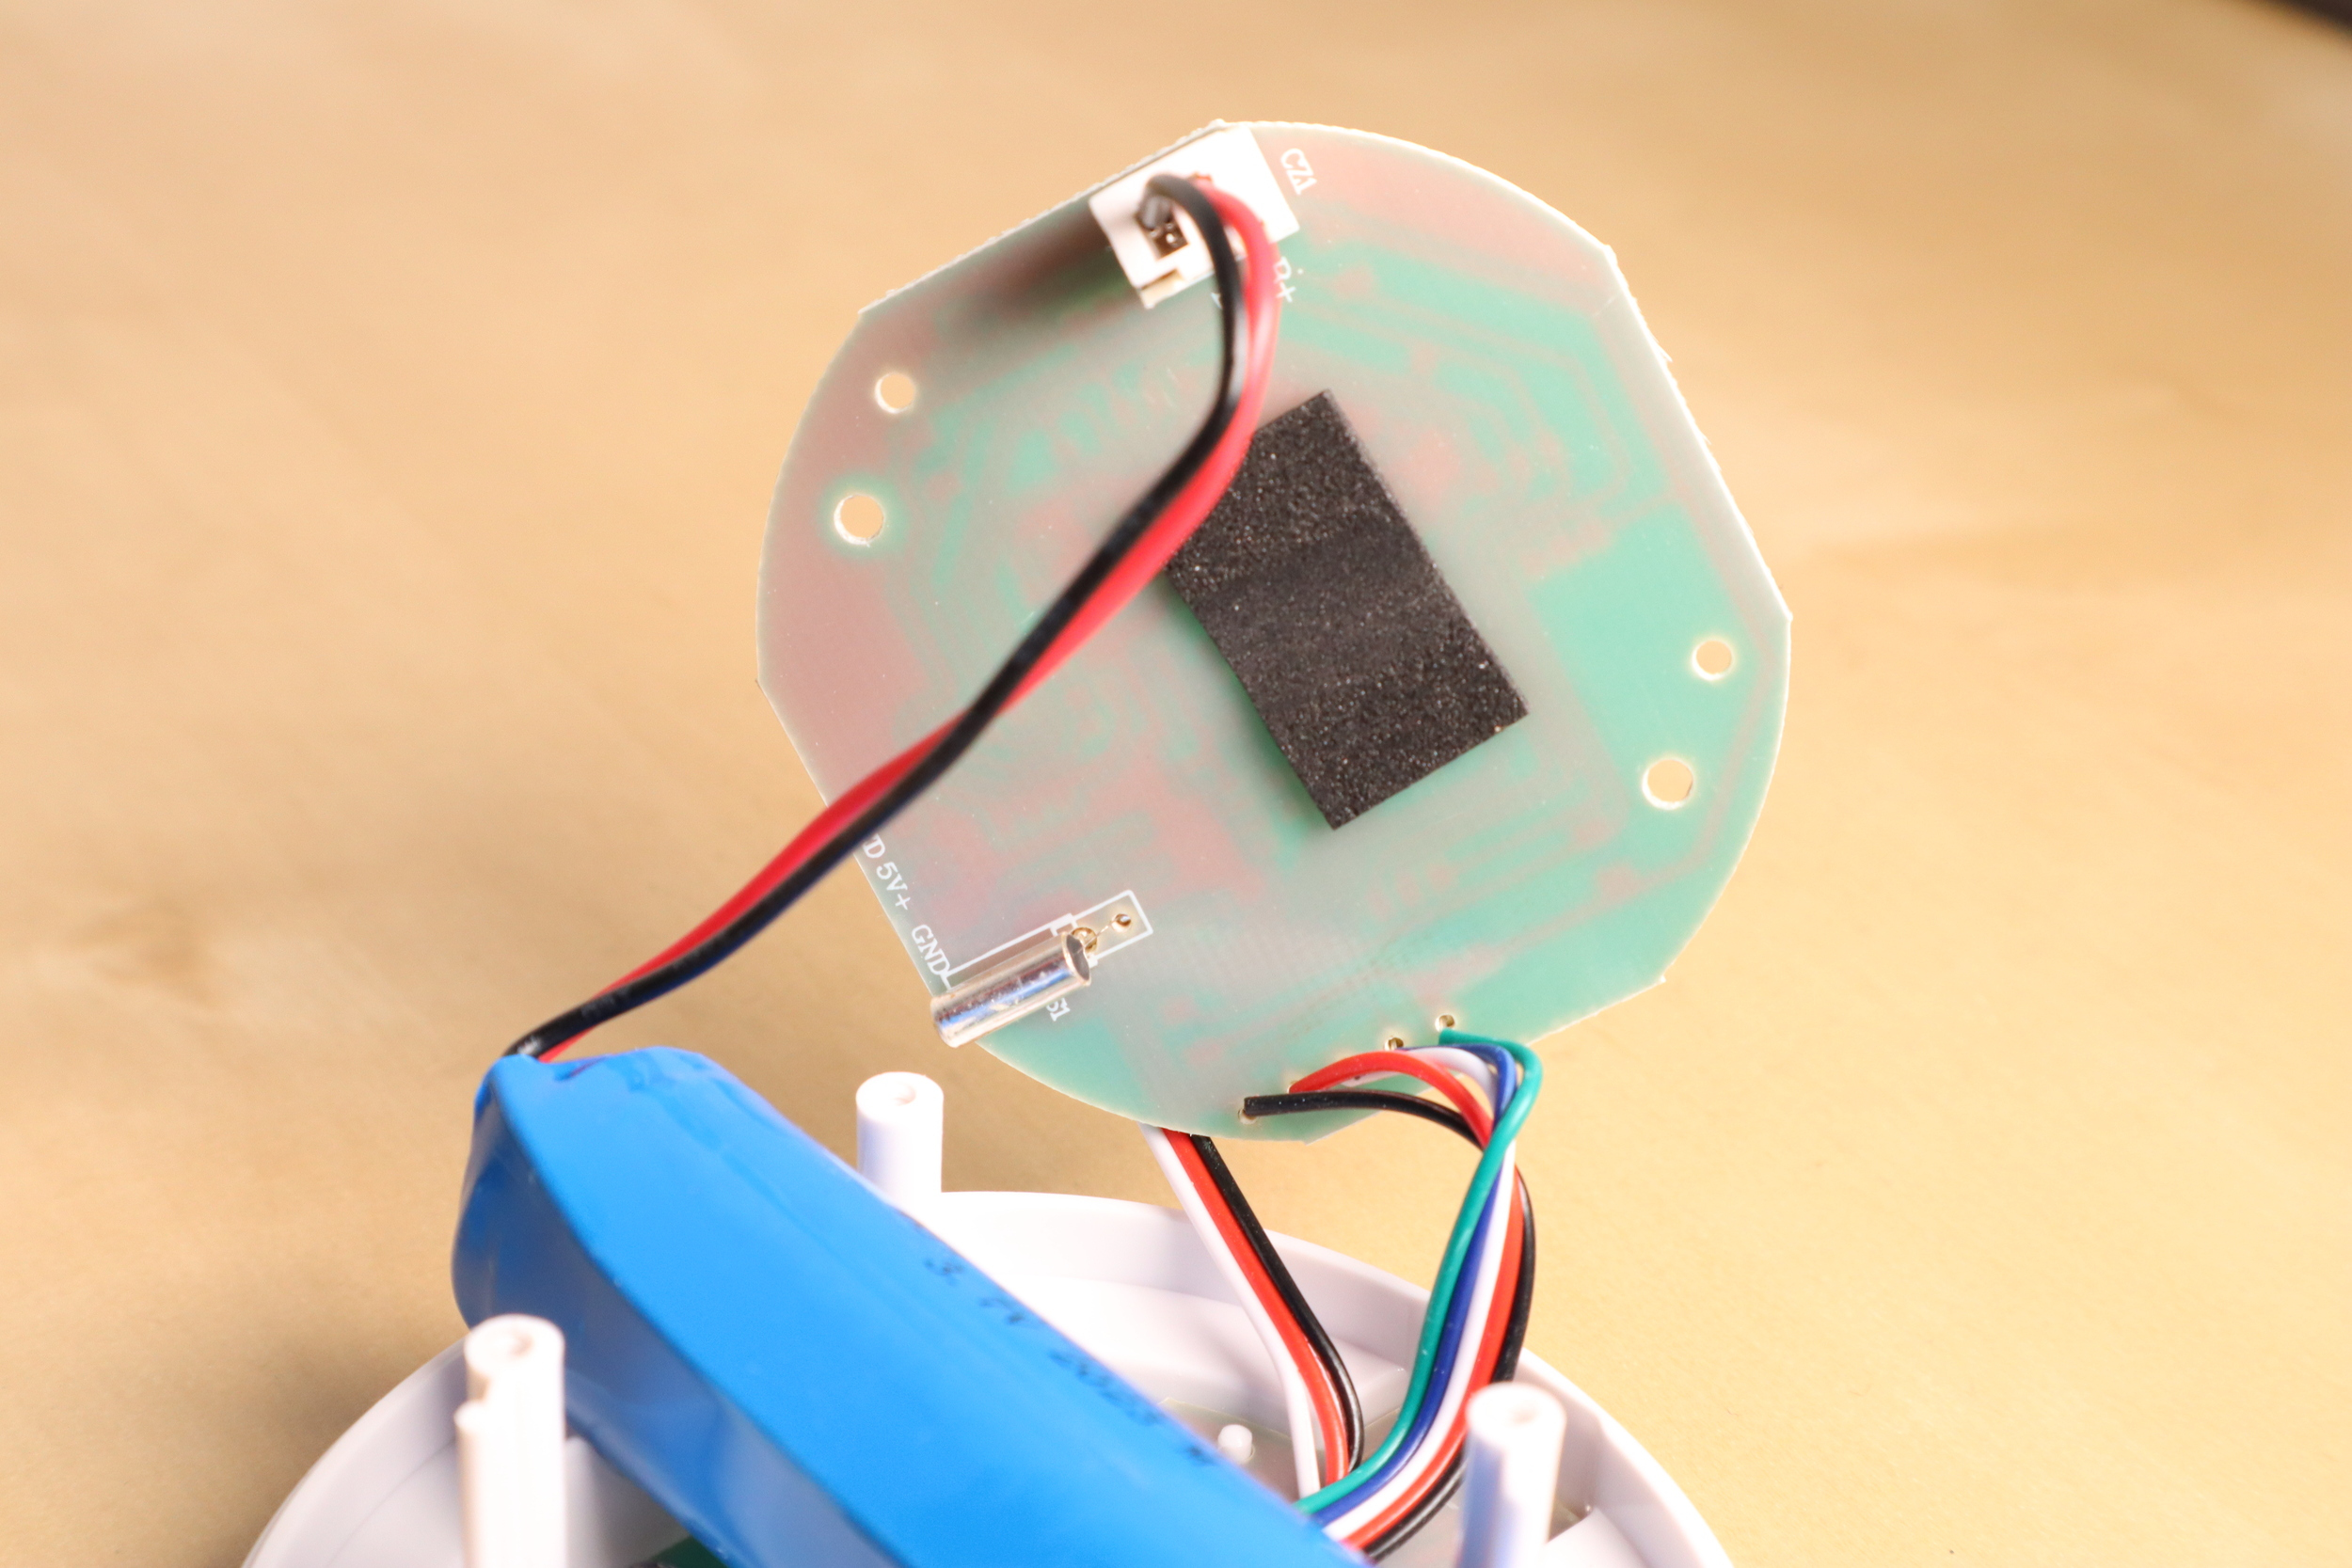
Blinkencat 1 (ATTiny2313 + stock board)
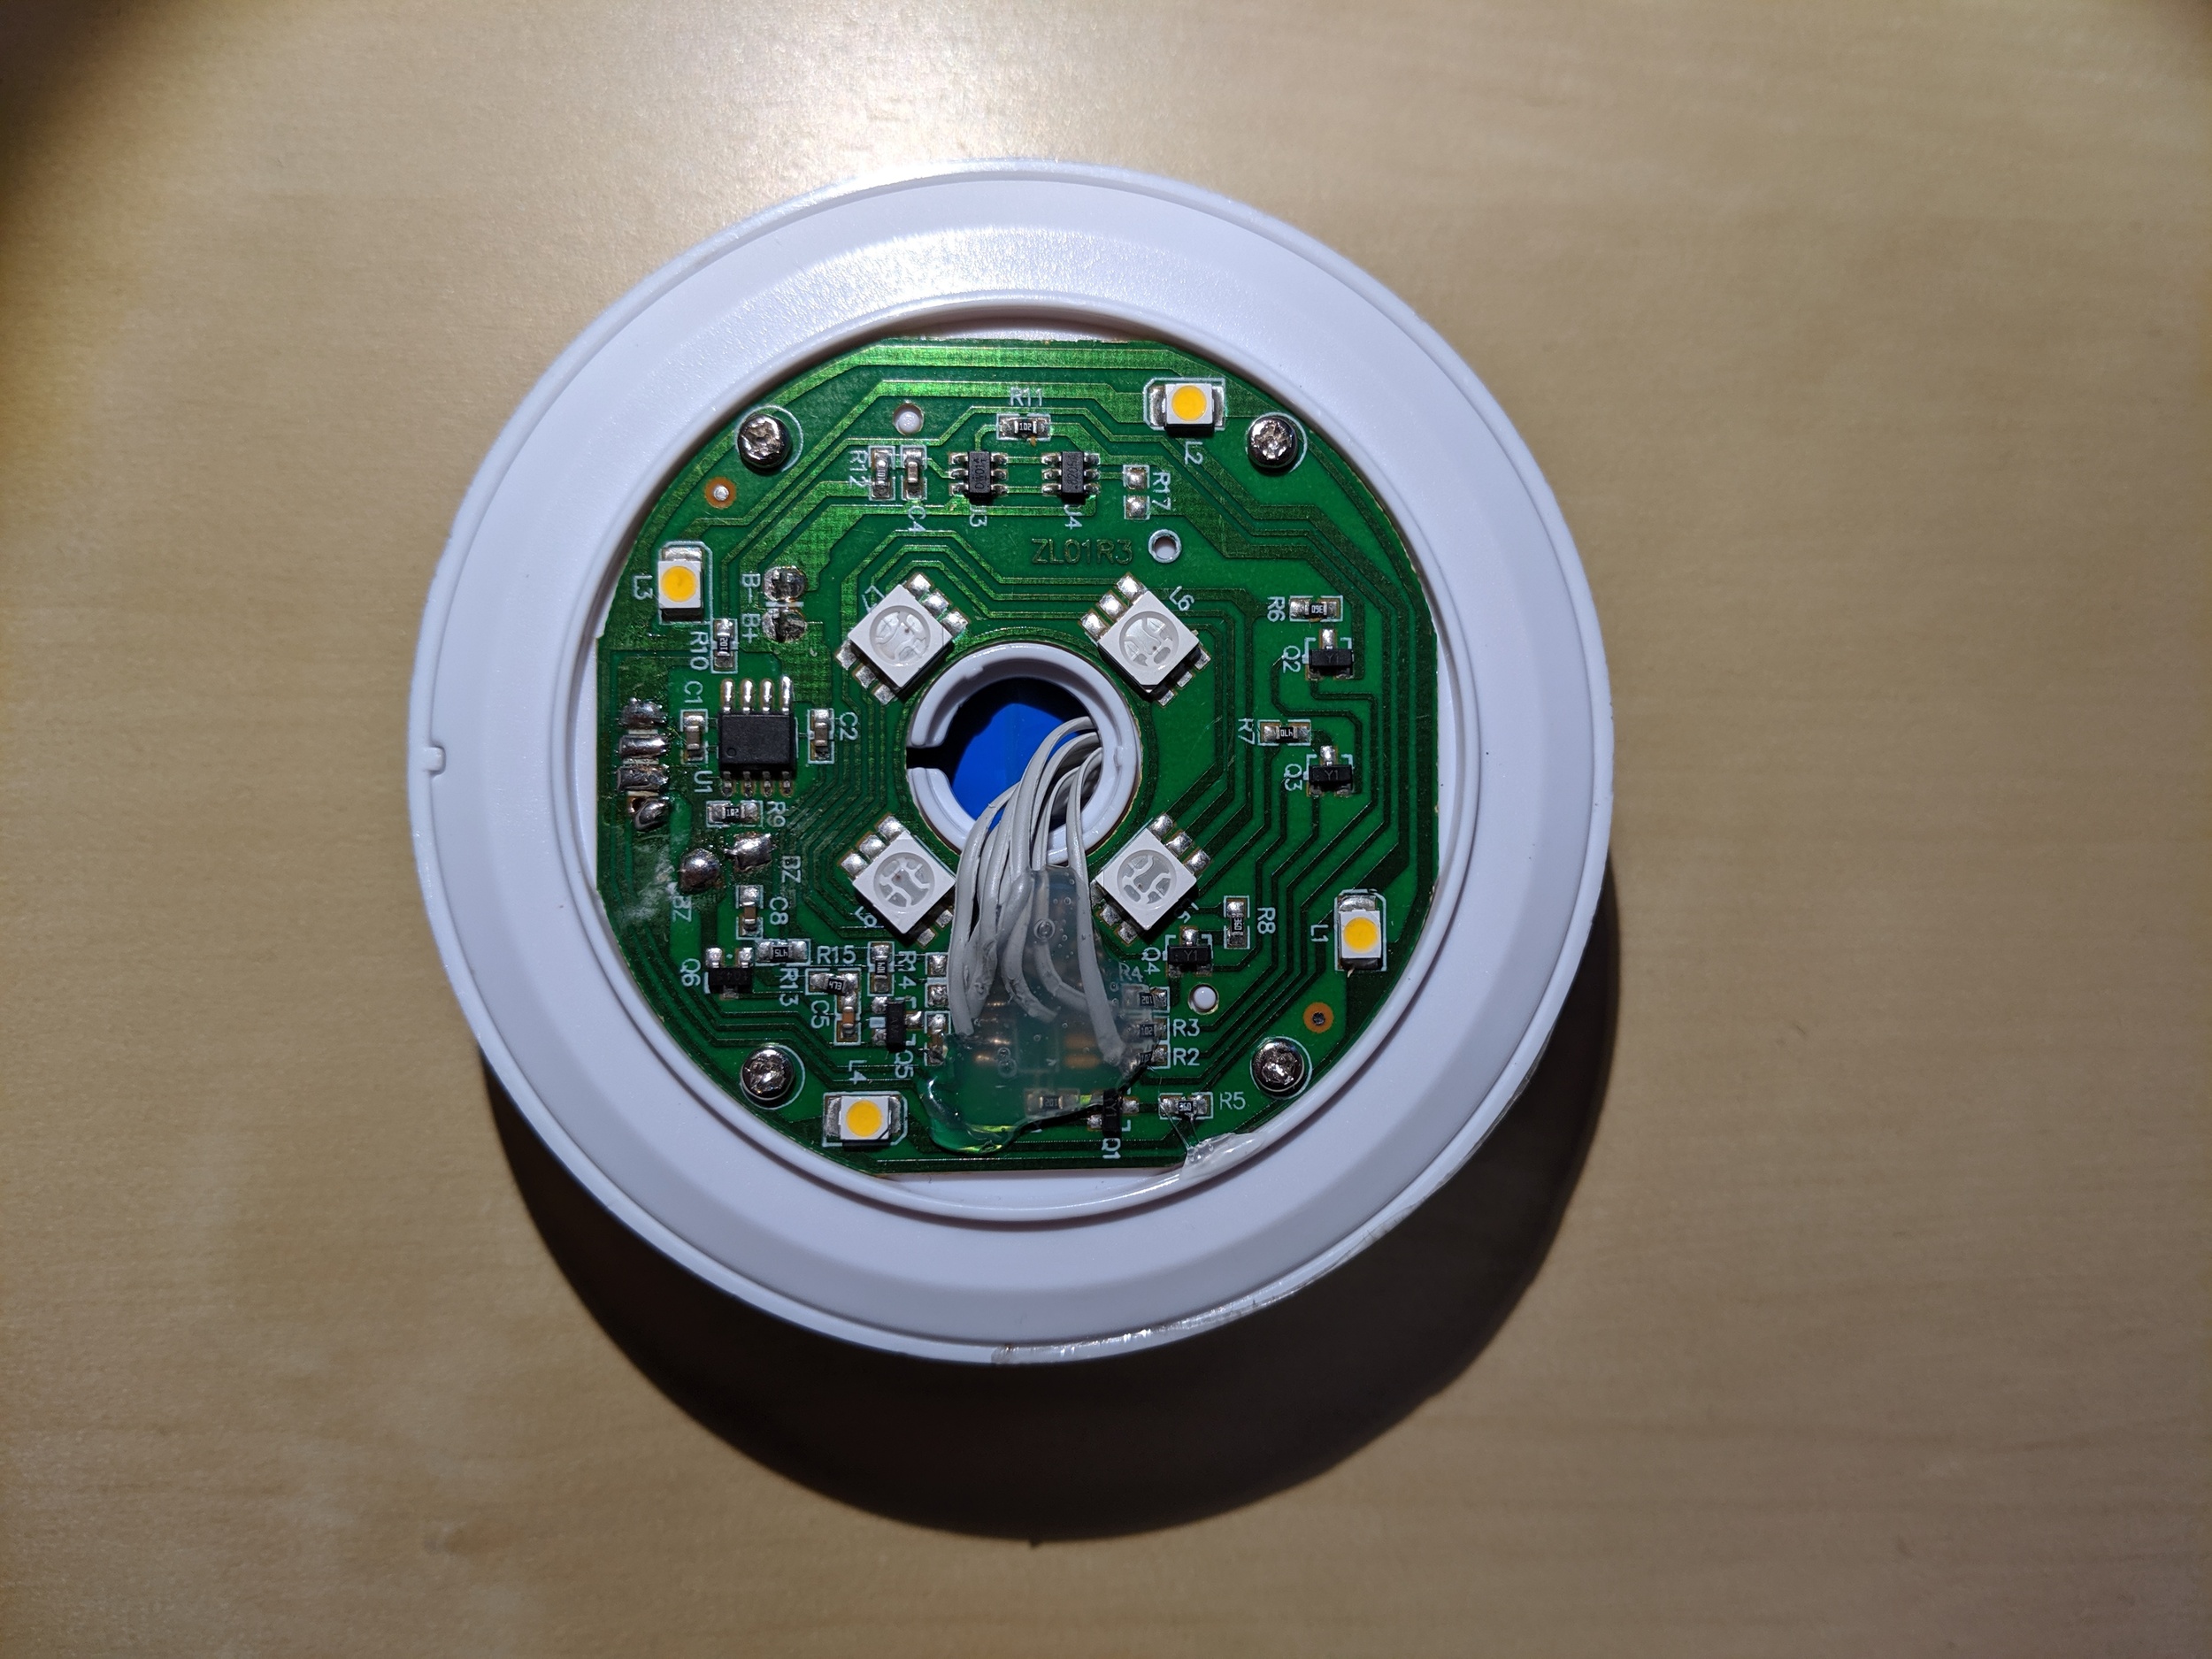
Bought in Oct 2017, PCB mark "ZL01R3". The original firmware had two modes: steady warm-white and color change (without fading and not following the RGB spectrum).
Features:
- Unmarked "1200 mAh" 18650 LiIon battery with connectors soldered on, likely without protective circuitry
- TP4056 charge controller. It's specified for a fixed charge termination at 4.2V ± 1%
- 4x warm-white LED + 4x RGB LED
- Unmarked microcontroller
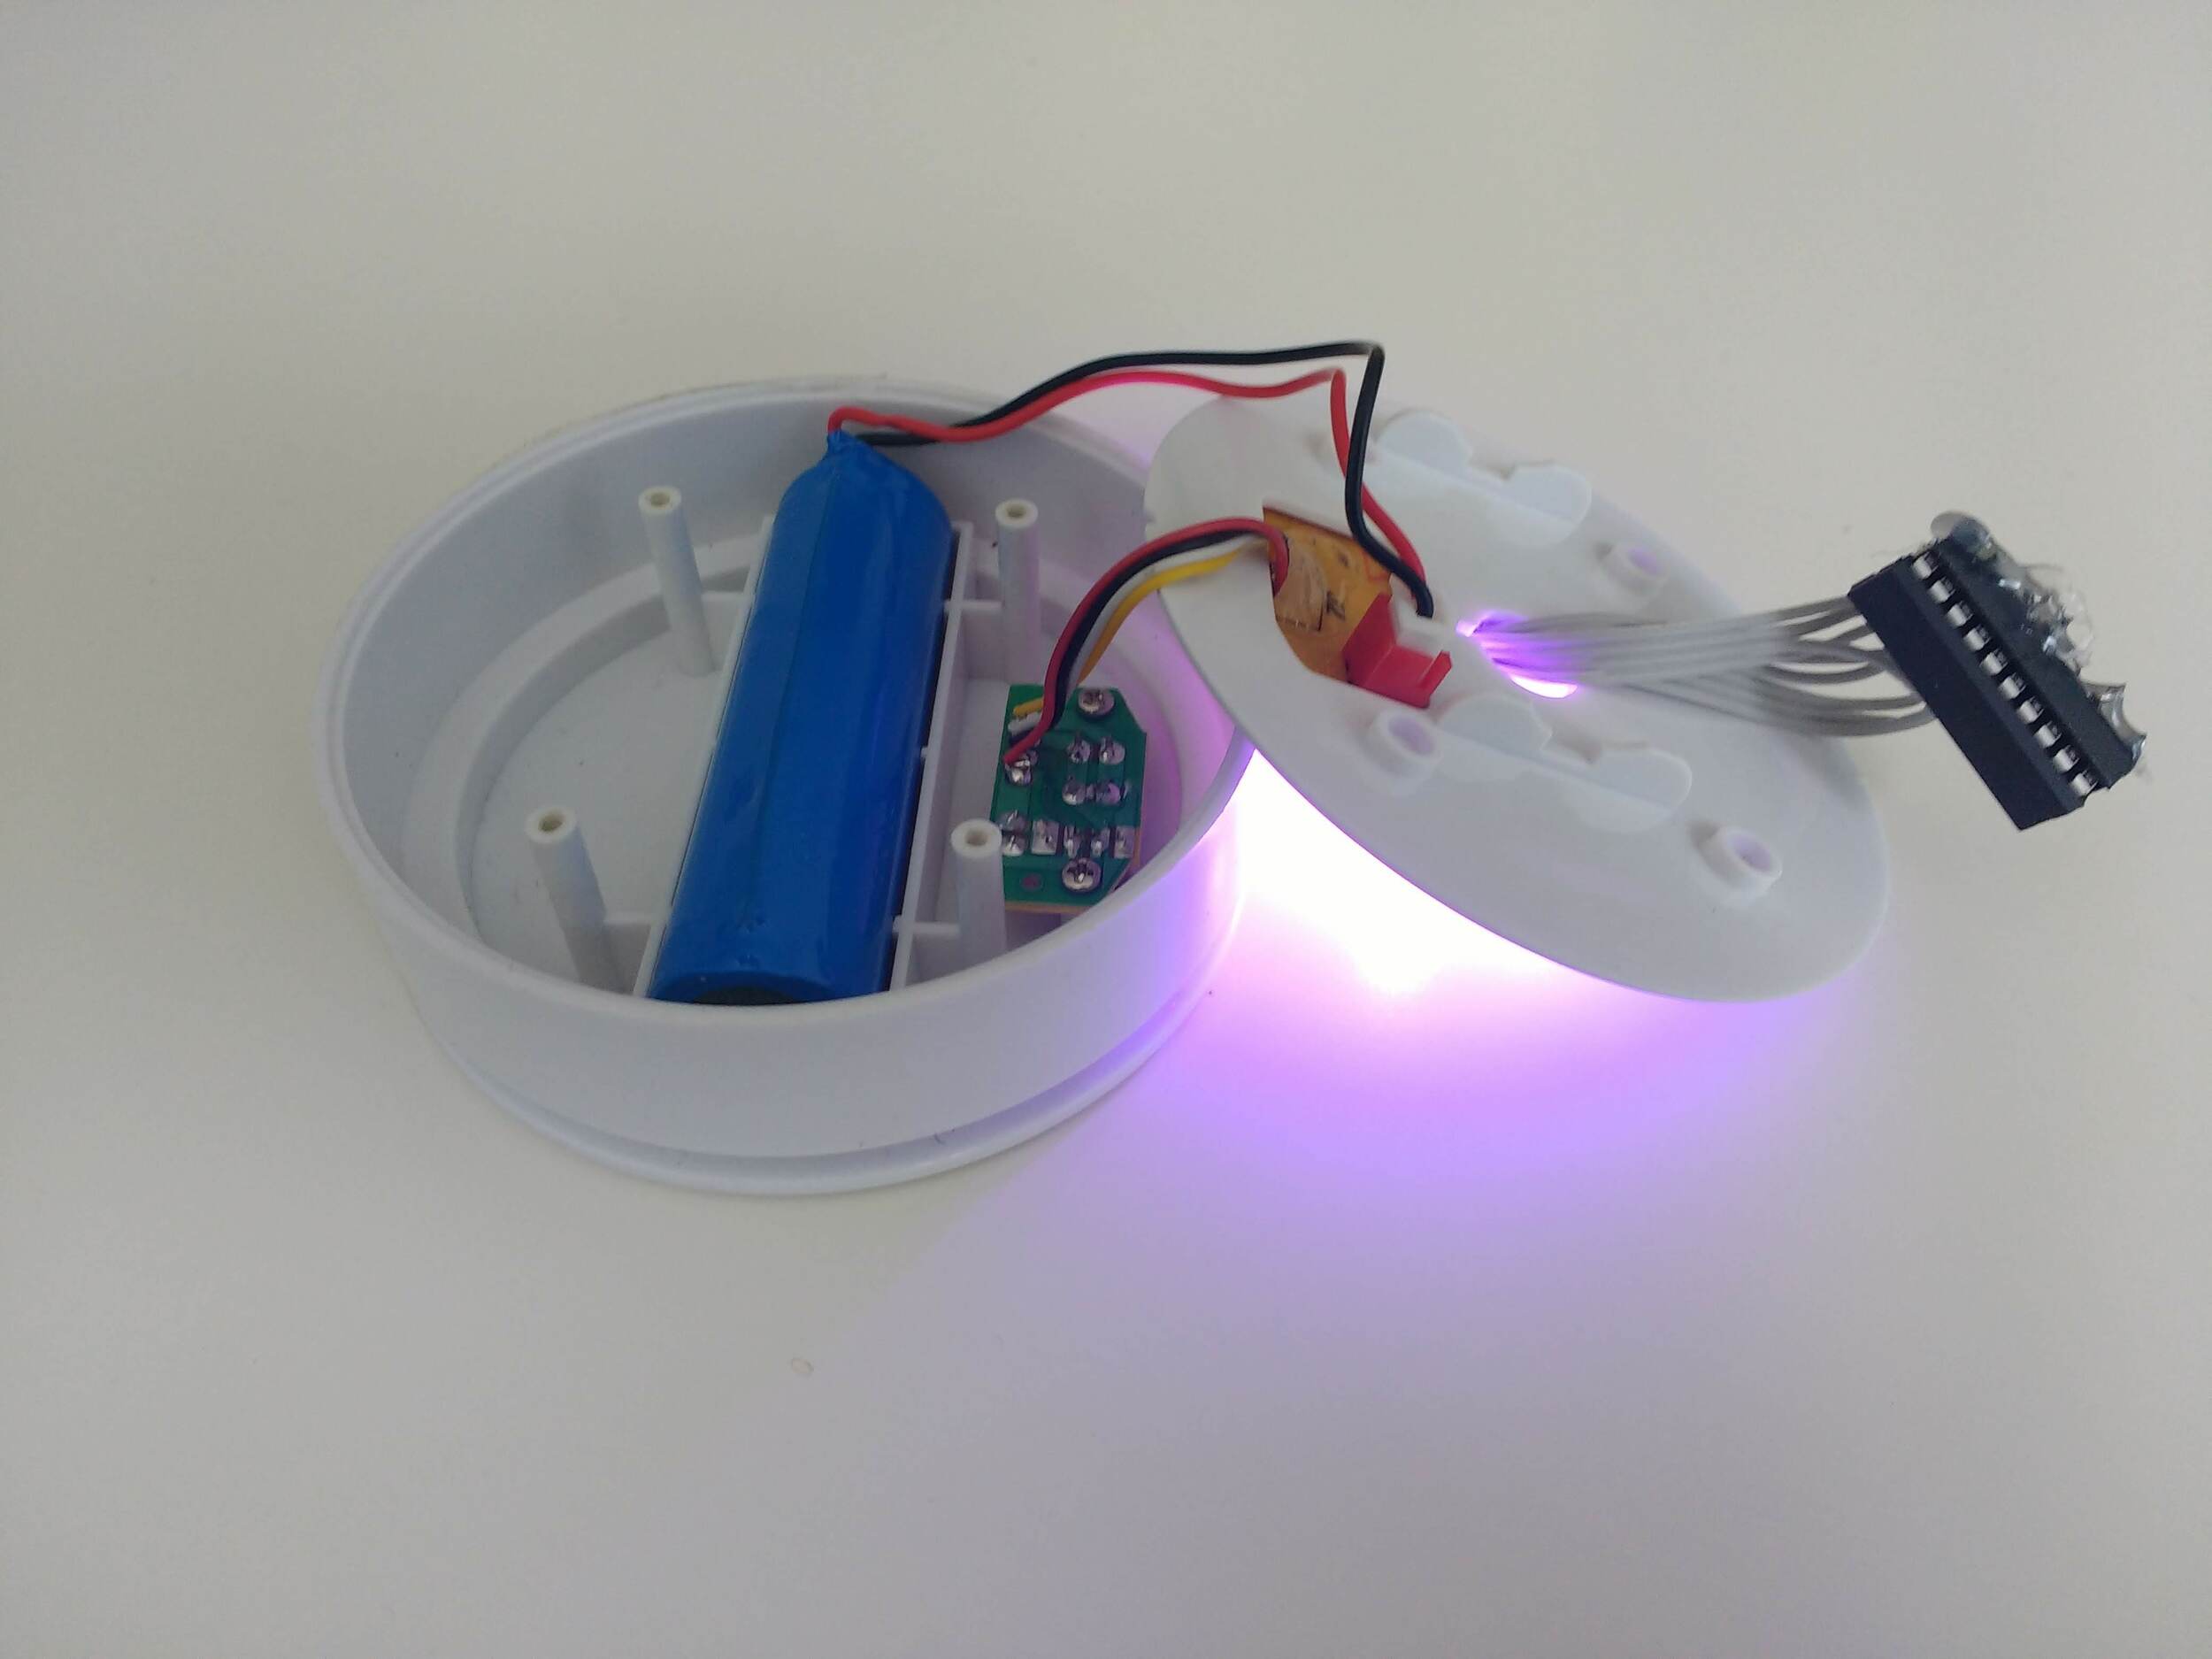
Battery and microUSB/button/LED PCB are housed beneath the main PCB. There is ample room for additions, e.g. a custom charge controller and/or a custom microcontroller. However, most 18650 battery holders are slightly too large for the cavern, so increasing the battery capacity is only trivial if you have a 18650 battery with connectors soldered on.
Microcontroller pinout (courtesy of marble, pin 1 is top left when rotating the board so that the microcontroller is at the bottom, numbered counter-clockwise):
- 1: NC
- 2: Charge Status input
- 3: Piezo input
- 4: VCC
- 5: Warm White LED output
- 6: Button input
- 7: NC
- 8: Green LED output
- 9: Red LED output
- 10: Blue LED output
- 11: GND
- 12: Charge Status LED output
- 13: NC
- 14: NC
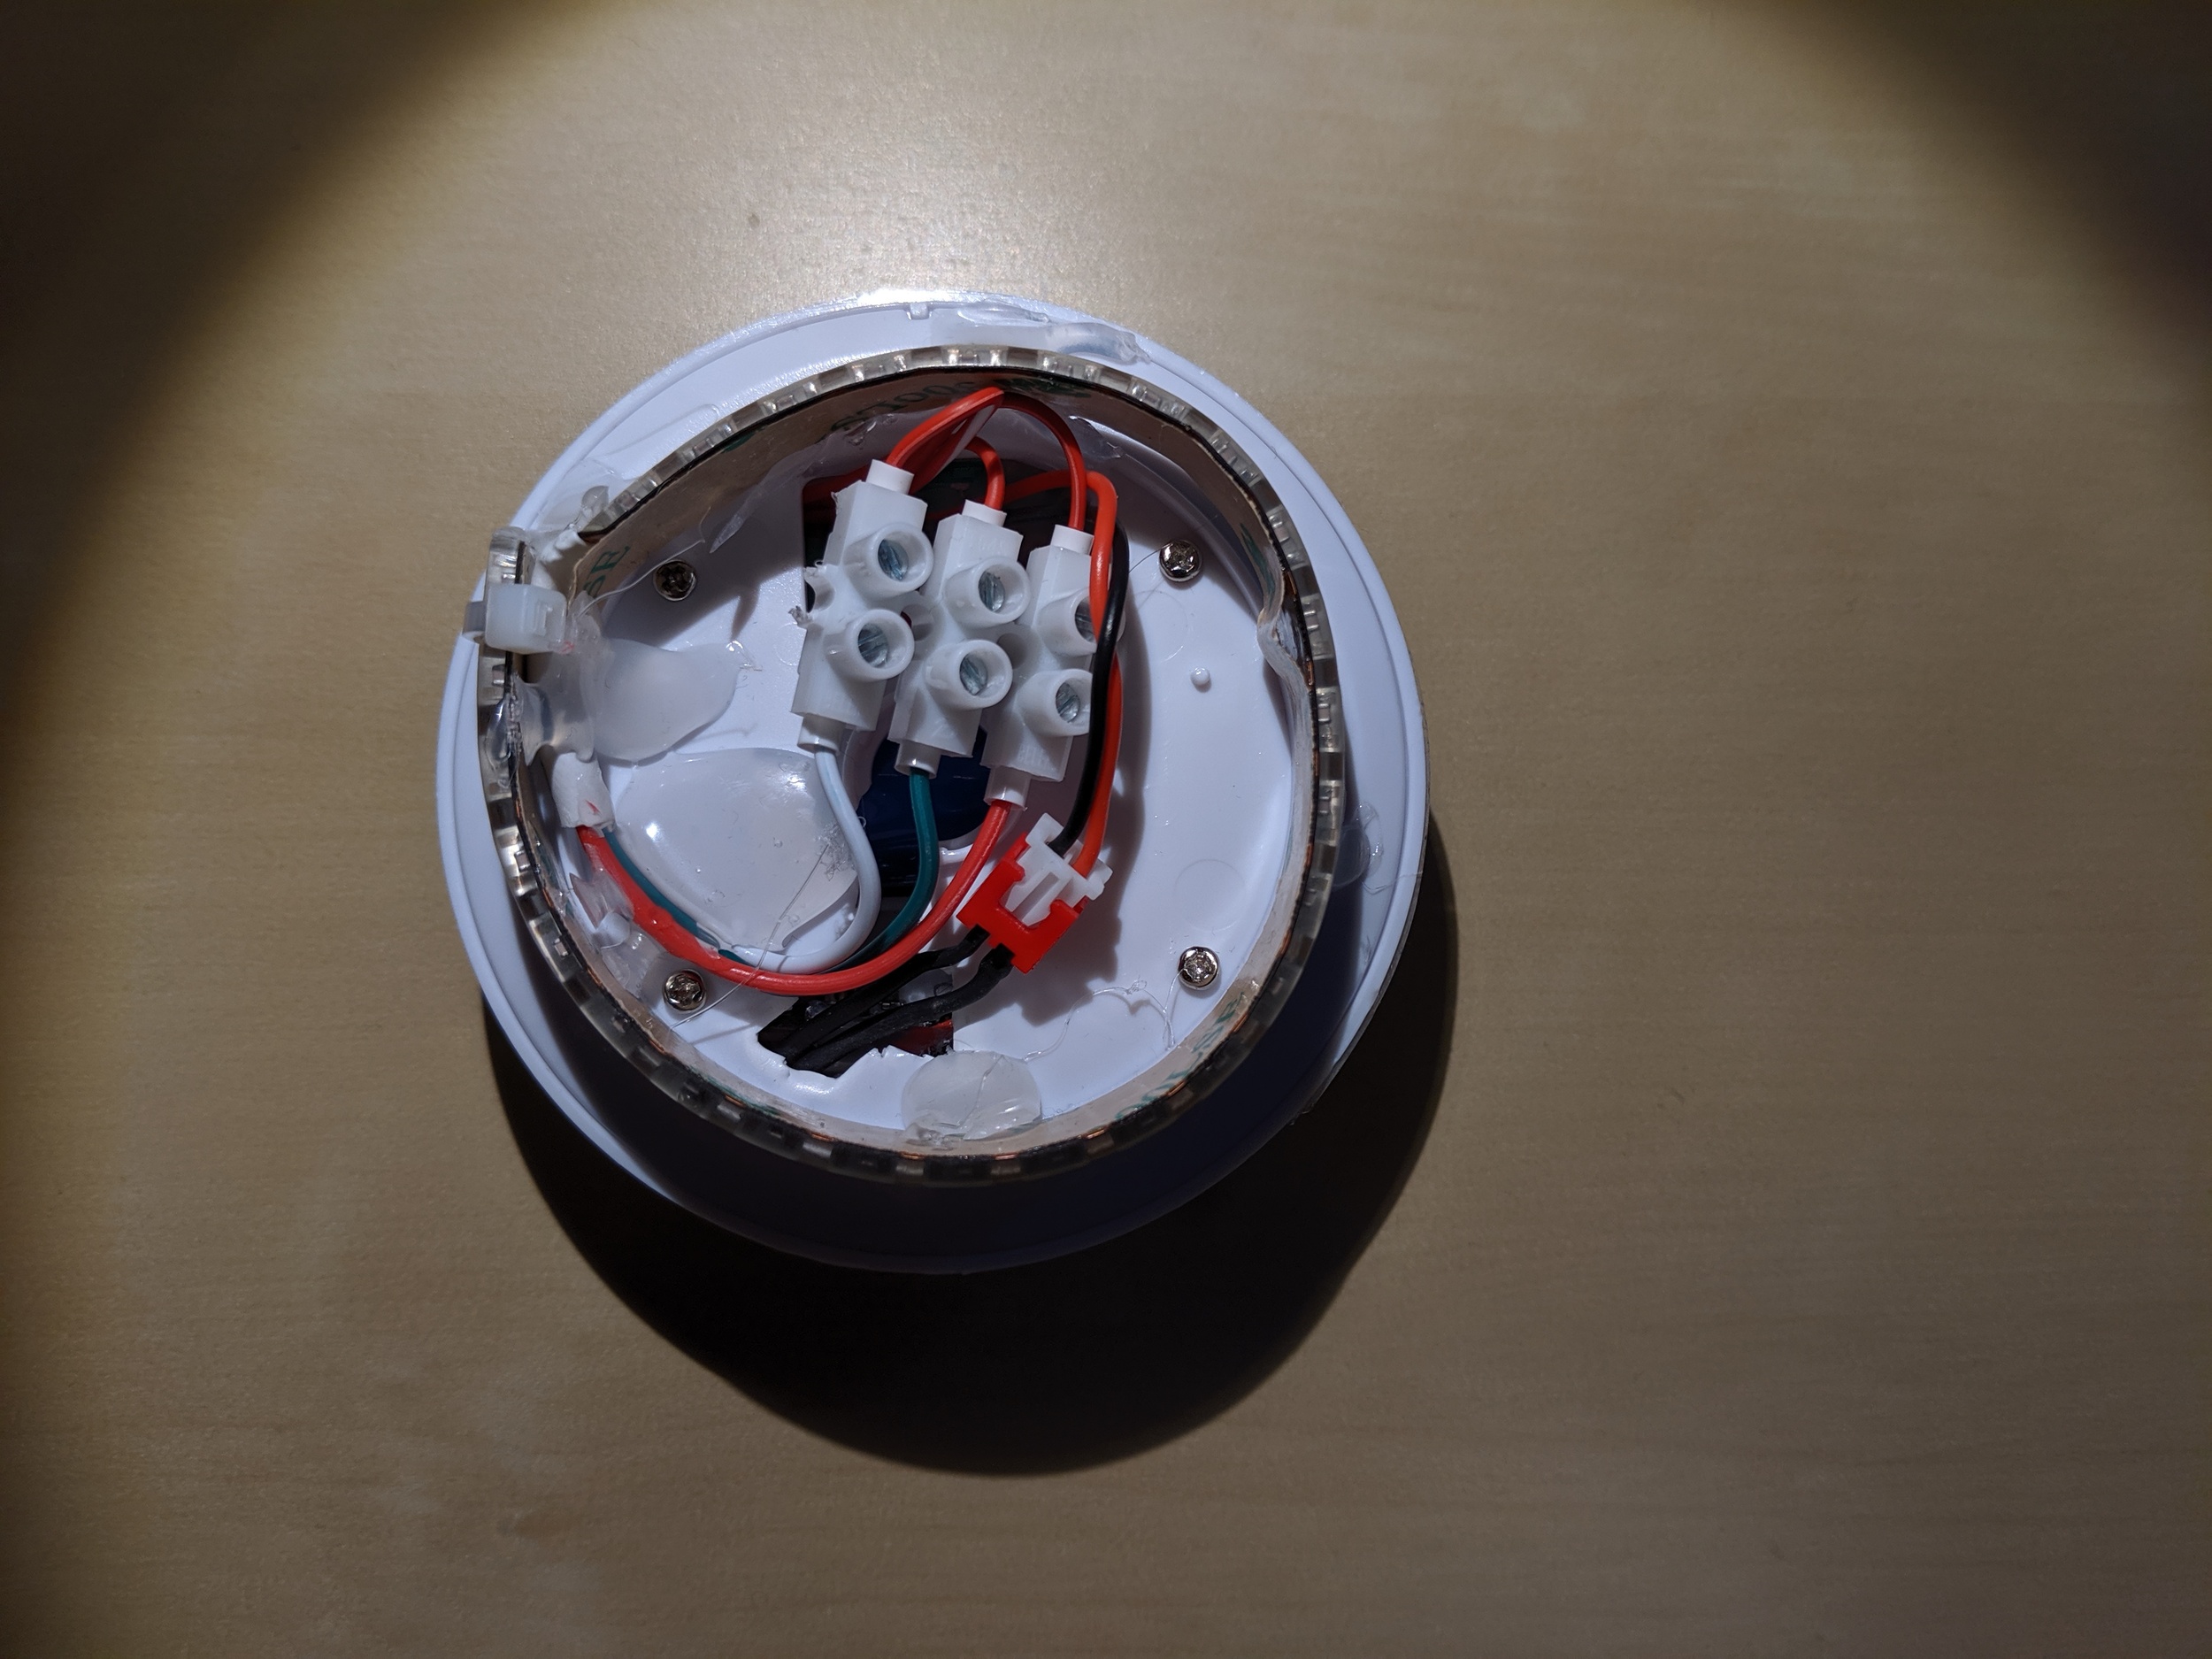
input board pinout (pin 1 is left when rotating the case so that the board is above the battery):
- 1: button contact A
- 2: button contact B, microUSB GND
- 3: LED VCC, microUSB VCC
- 4: LED GND. Note that there is no resistor on the input board
Following marble's BlinkenCat howto, I replaced its microcontroller with an ATTiny2313A and implemented various steady-color and RGB color fade modes. Idle current consumption is in the 10 µA range.
It works well, is rock solid and provides around 10 hours of blinkenlights (depending on mode). The firmware is available in my blinkencat repository (GitHub mirror).
Power consumption in operation:
- warm white: 128 mW
- RGB: 180 mW
- all LEDs on: 536 mW
Charging: up to 800 mA @ 5.2 V, typically < 700 mA
Blinkencat 2 (29C3 MiniMoodlight SMD)

Bought in Jan 2018, PCB mark "ZL01R3". The original firmware had two modes: steady warm-white and color change (without fading and not following the RGB spectrum). See Blinkencat 1 for details.
I threw out the entire hardware and replaced it with a 29C3 MiniMoodlight SMD using an external USB connector.
Current draw at 5.2 V: 200 to 500 mA.
Blinkencat 3 (ATMega328 + WS2812)

Bought in Jul 2019, PCB mark "ZL01R4". The device came with an IR remote and supported several steady-color and color-fade modes as well as a standby timer.
I removed the top PCB and replaced it with an Arduino Nano, TP4056 LiIon controller, and a WS2812 LED circle. I also removed the Arduino Nano's USB-TTL converter, which otherwise consumes ~17mA even when powered down. Flashing is only possible via 6-pin ISP.
This is not a recommended build -- I did not take care to reduce idle power consumption and it shows. Current draw at 3.7V:
- off: 11.3 mA
Charging: up to 1 A @ 5.2 V; typically < 700 mA
Battery runtime ranges from 1 to 8 hours depending on RGB mode. Operation is controlled by the blinkencat3 multipass application.
Blinkencat 4 and 5

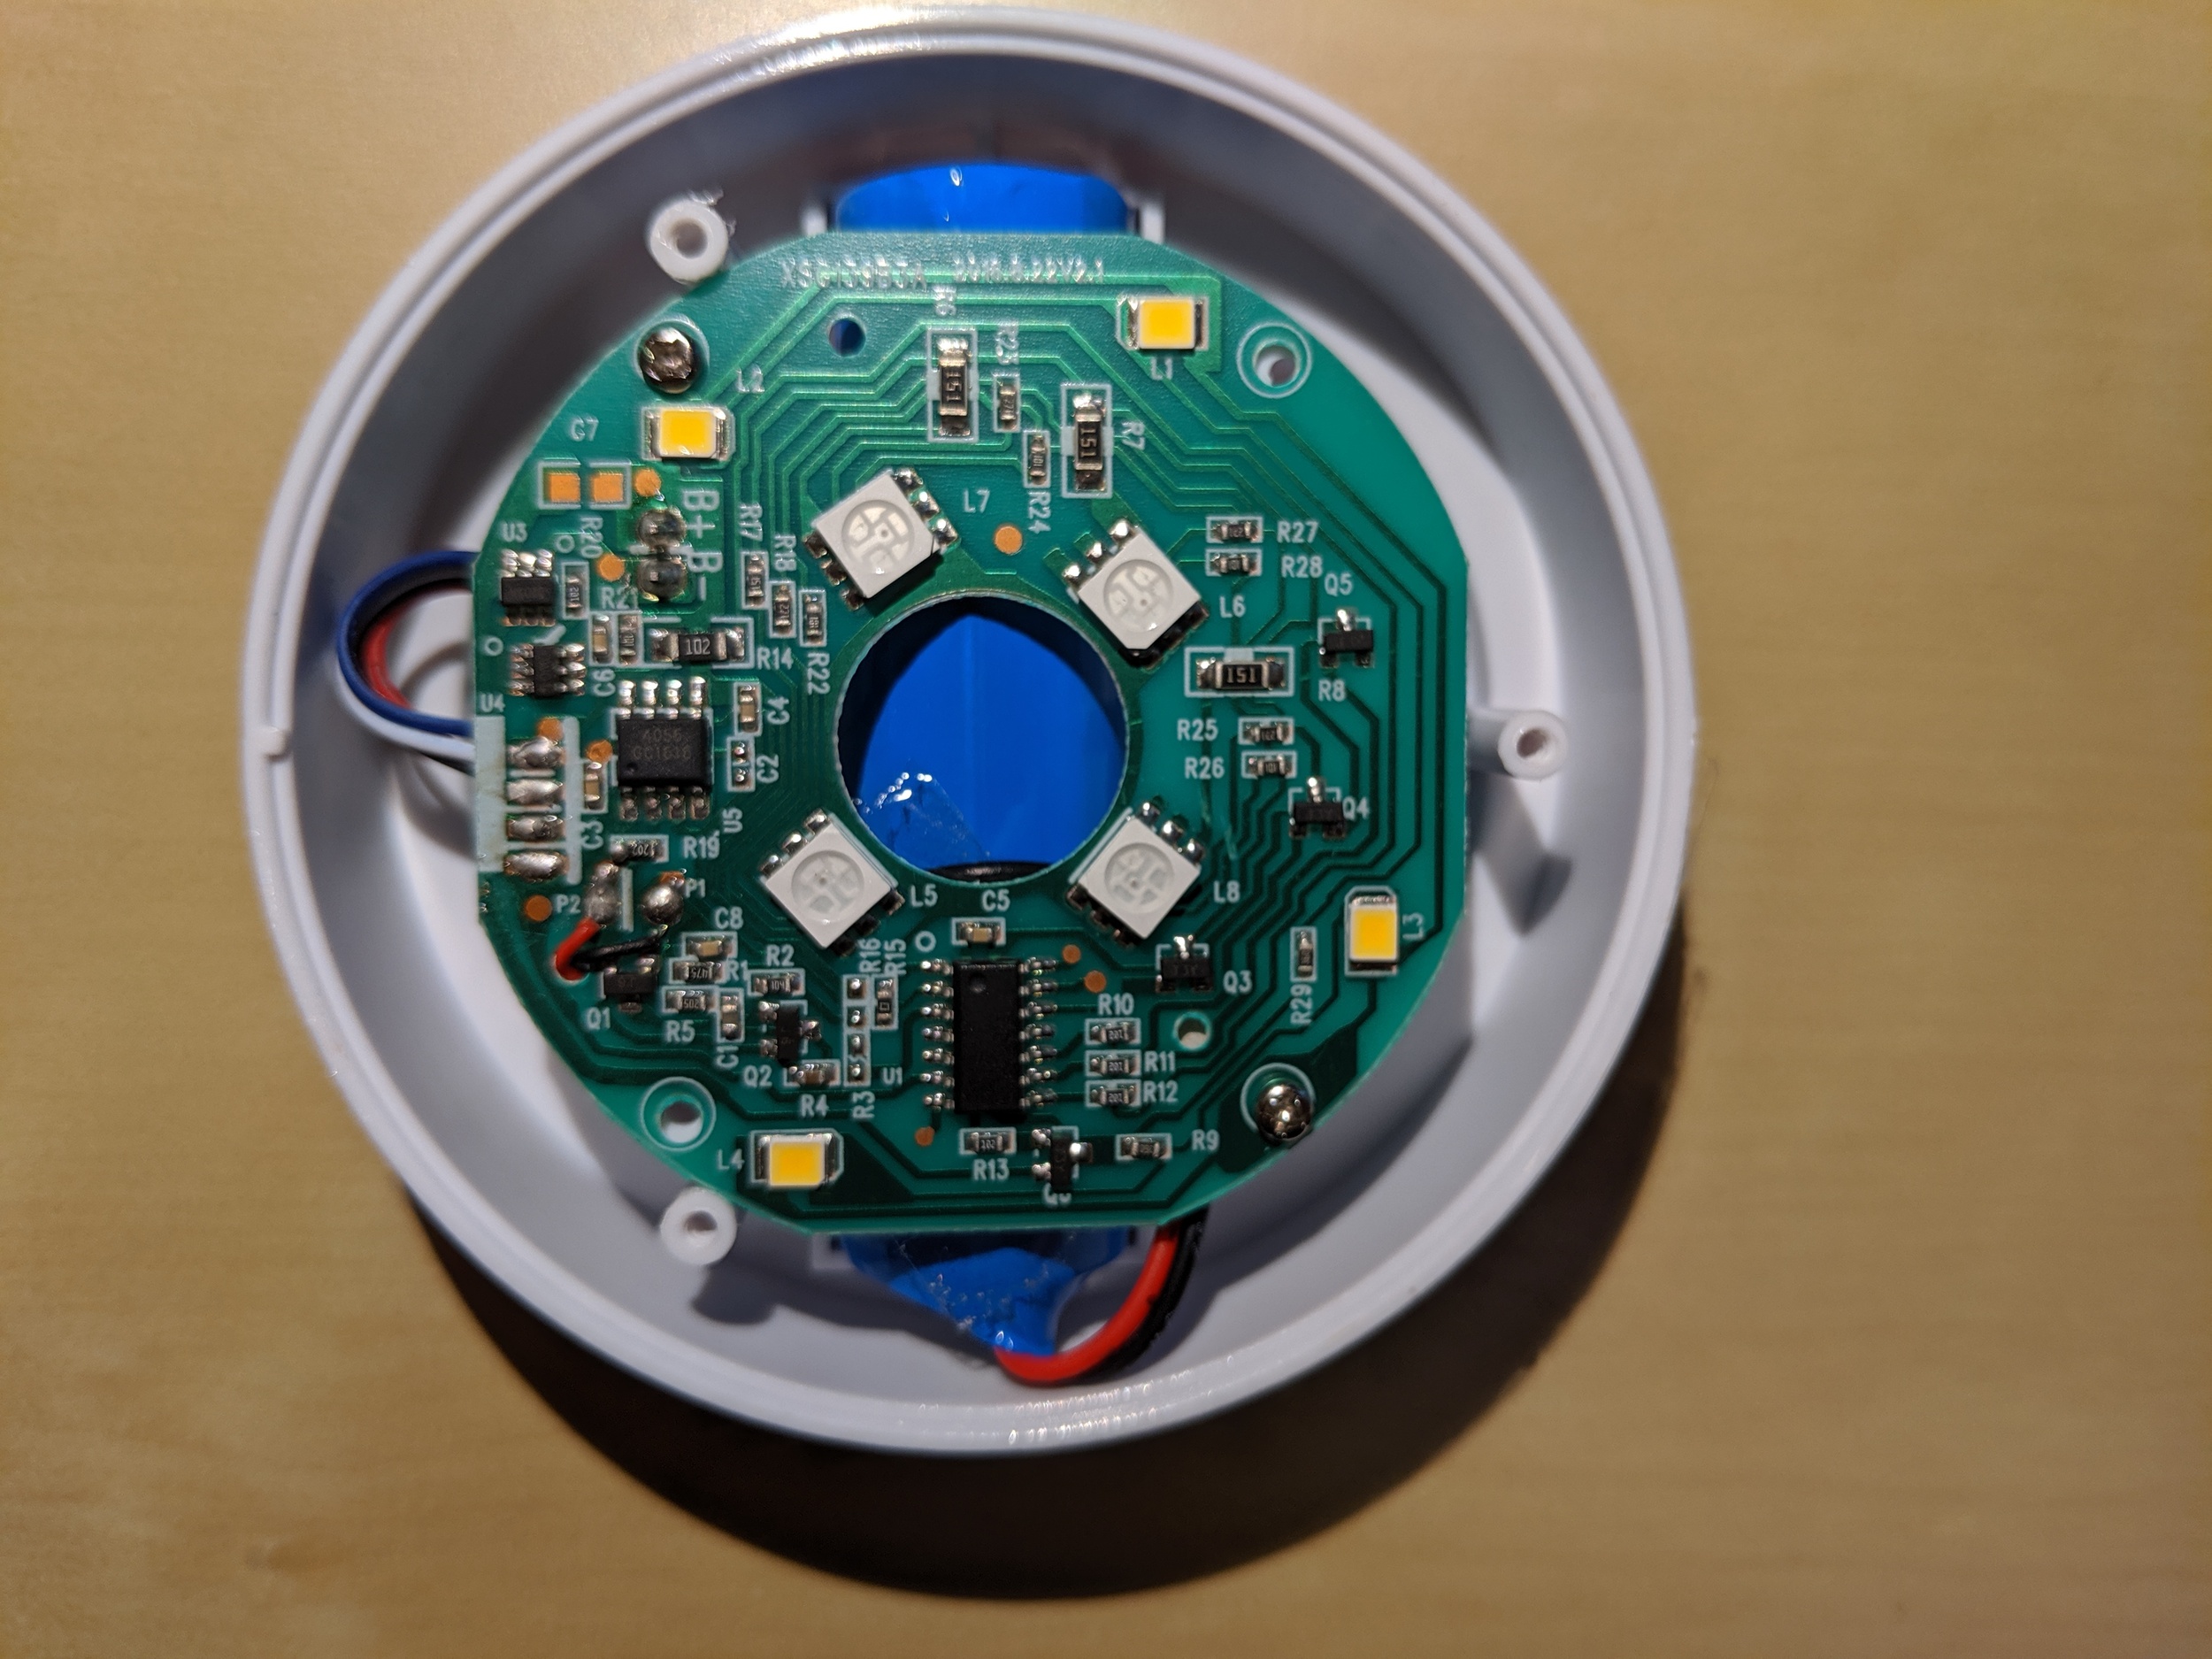
Bought in Sep 2019, PCB marks "XSG139B3A 2018.8.22V2.1". The blinkencats have a redesigned PCB with significantly brighter warm-white LEDs and a diffusor. Blinkencat 4 got the same treatment as Blinkencat 1; Blinkencat 5 is stock.
The PCB disconnects the battery when voltage drops below ~2.45V and reconnects it once it is above ~3V again.
Microcontroller pinout (pin 1 is top left when rotating the board so that the microcontroller is at the bottom, numbered counter-clockwise):
- 1: Piezo Supply Output?
- 2: Charge Status input?
- 3: Piezo input?
- 4: VCC
- 5: Warm White LED output (active high)
- 6: Button input
- 7: ??
- 8: Green LED output (active high)
- 9: Red LED output (active high)
- 10: Blue LED output (active high)
- 11: GND
- 12: Charge Status LED output
- 13: ??
- 14: ??
input board pinout (pin 1 is left when rotating the case so that the board is above the battery):
- 1: button contact A (pull-up to VCC located somewhere)
- 2: button contact B, microUSB GND
- 3: LED VCC, microUSB VCC
- 4: LED GND. Note that there is no resistor on the input board
Charging: 600 mA @ 5.2 V
Blinkencat 6 and 7
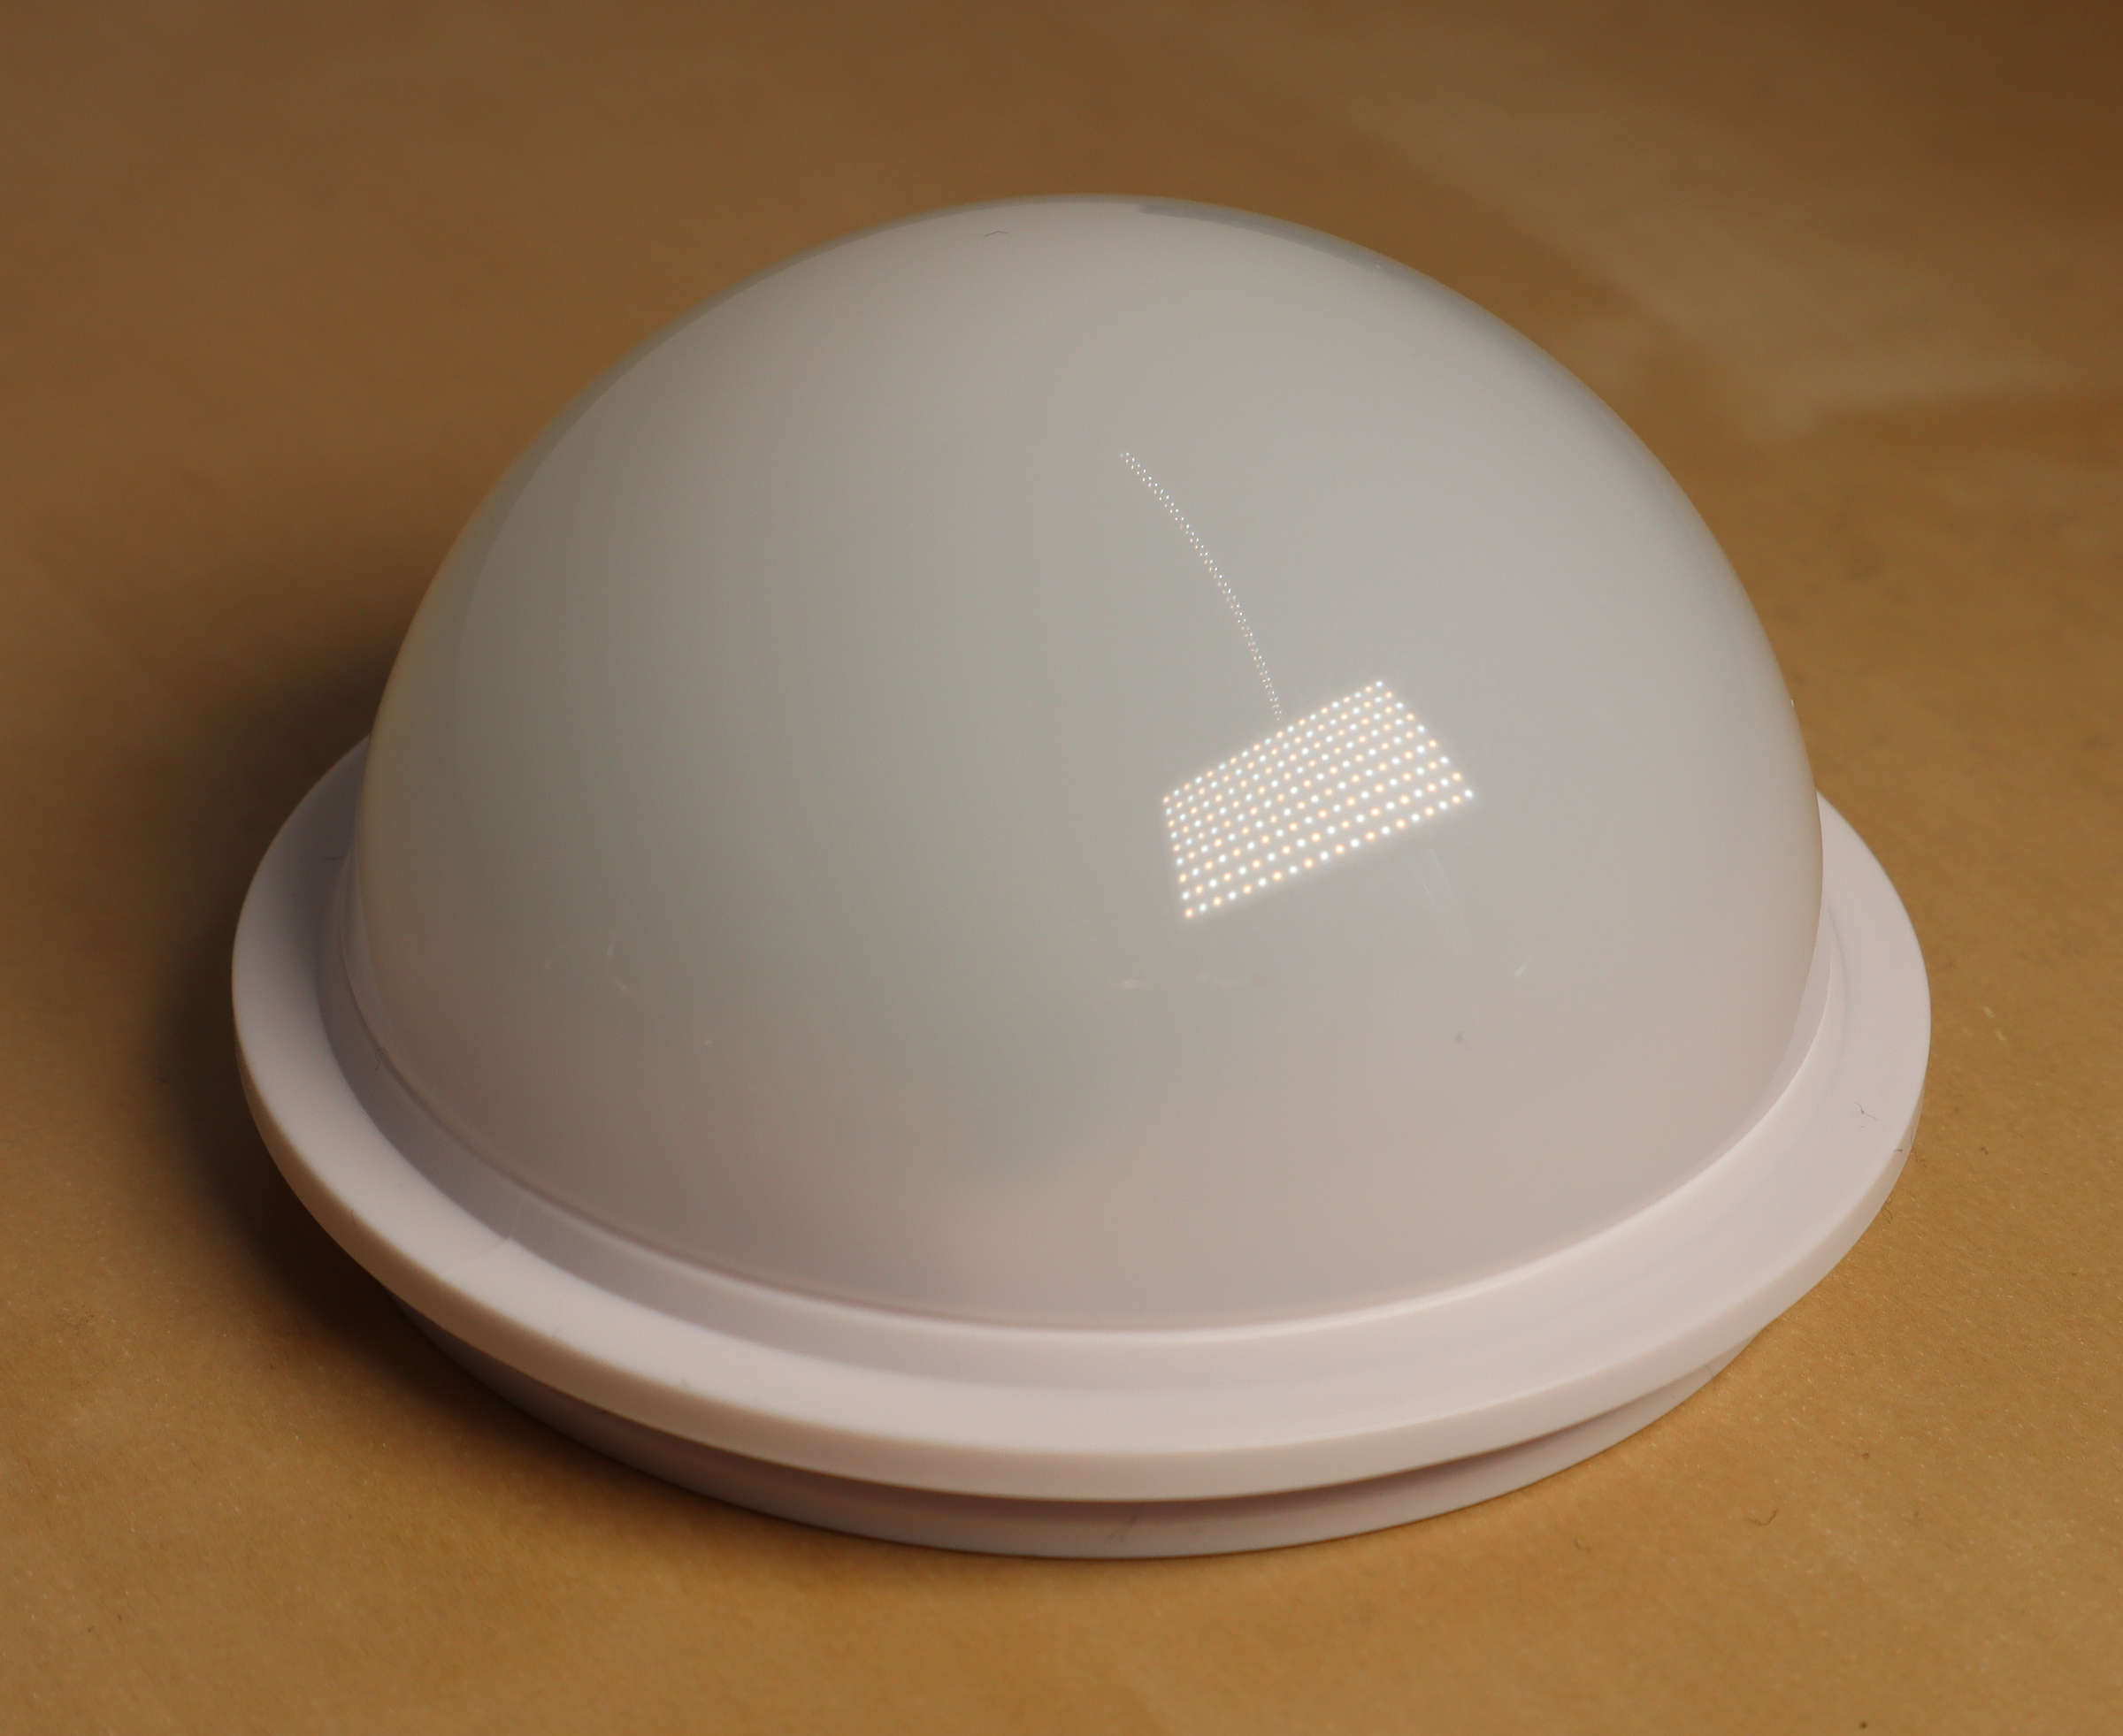
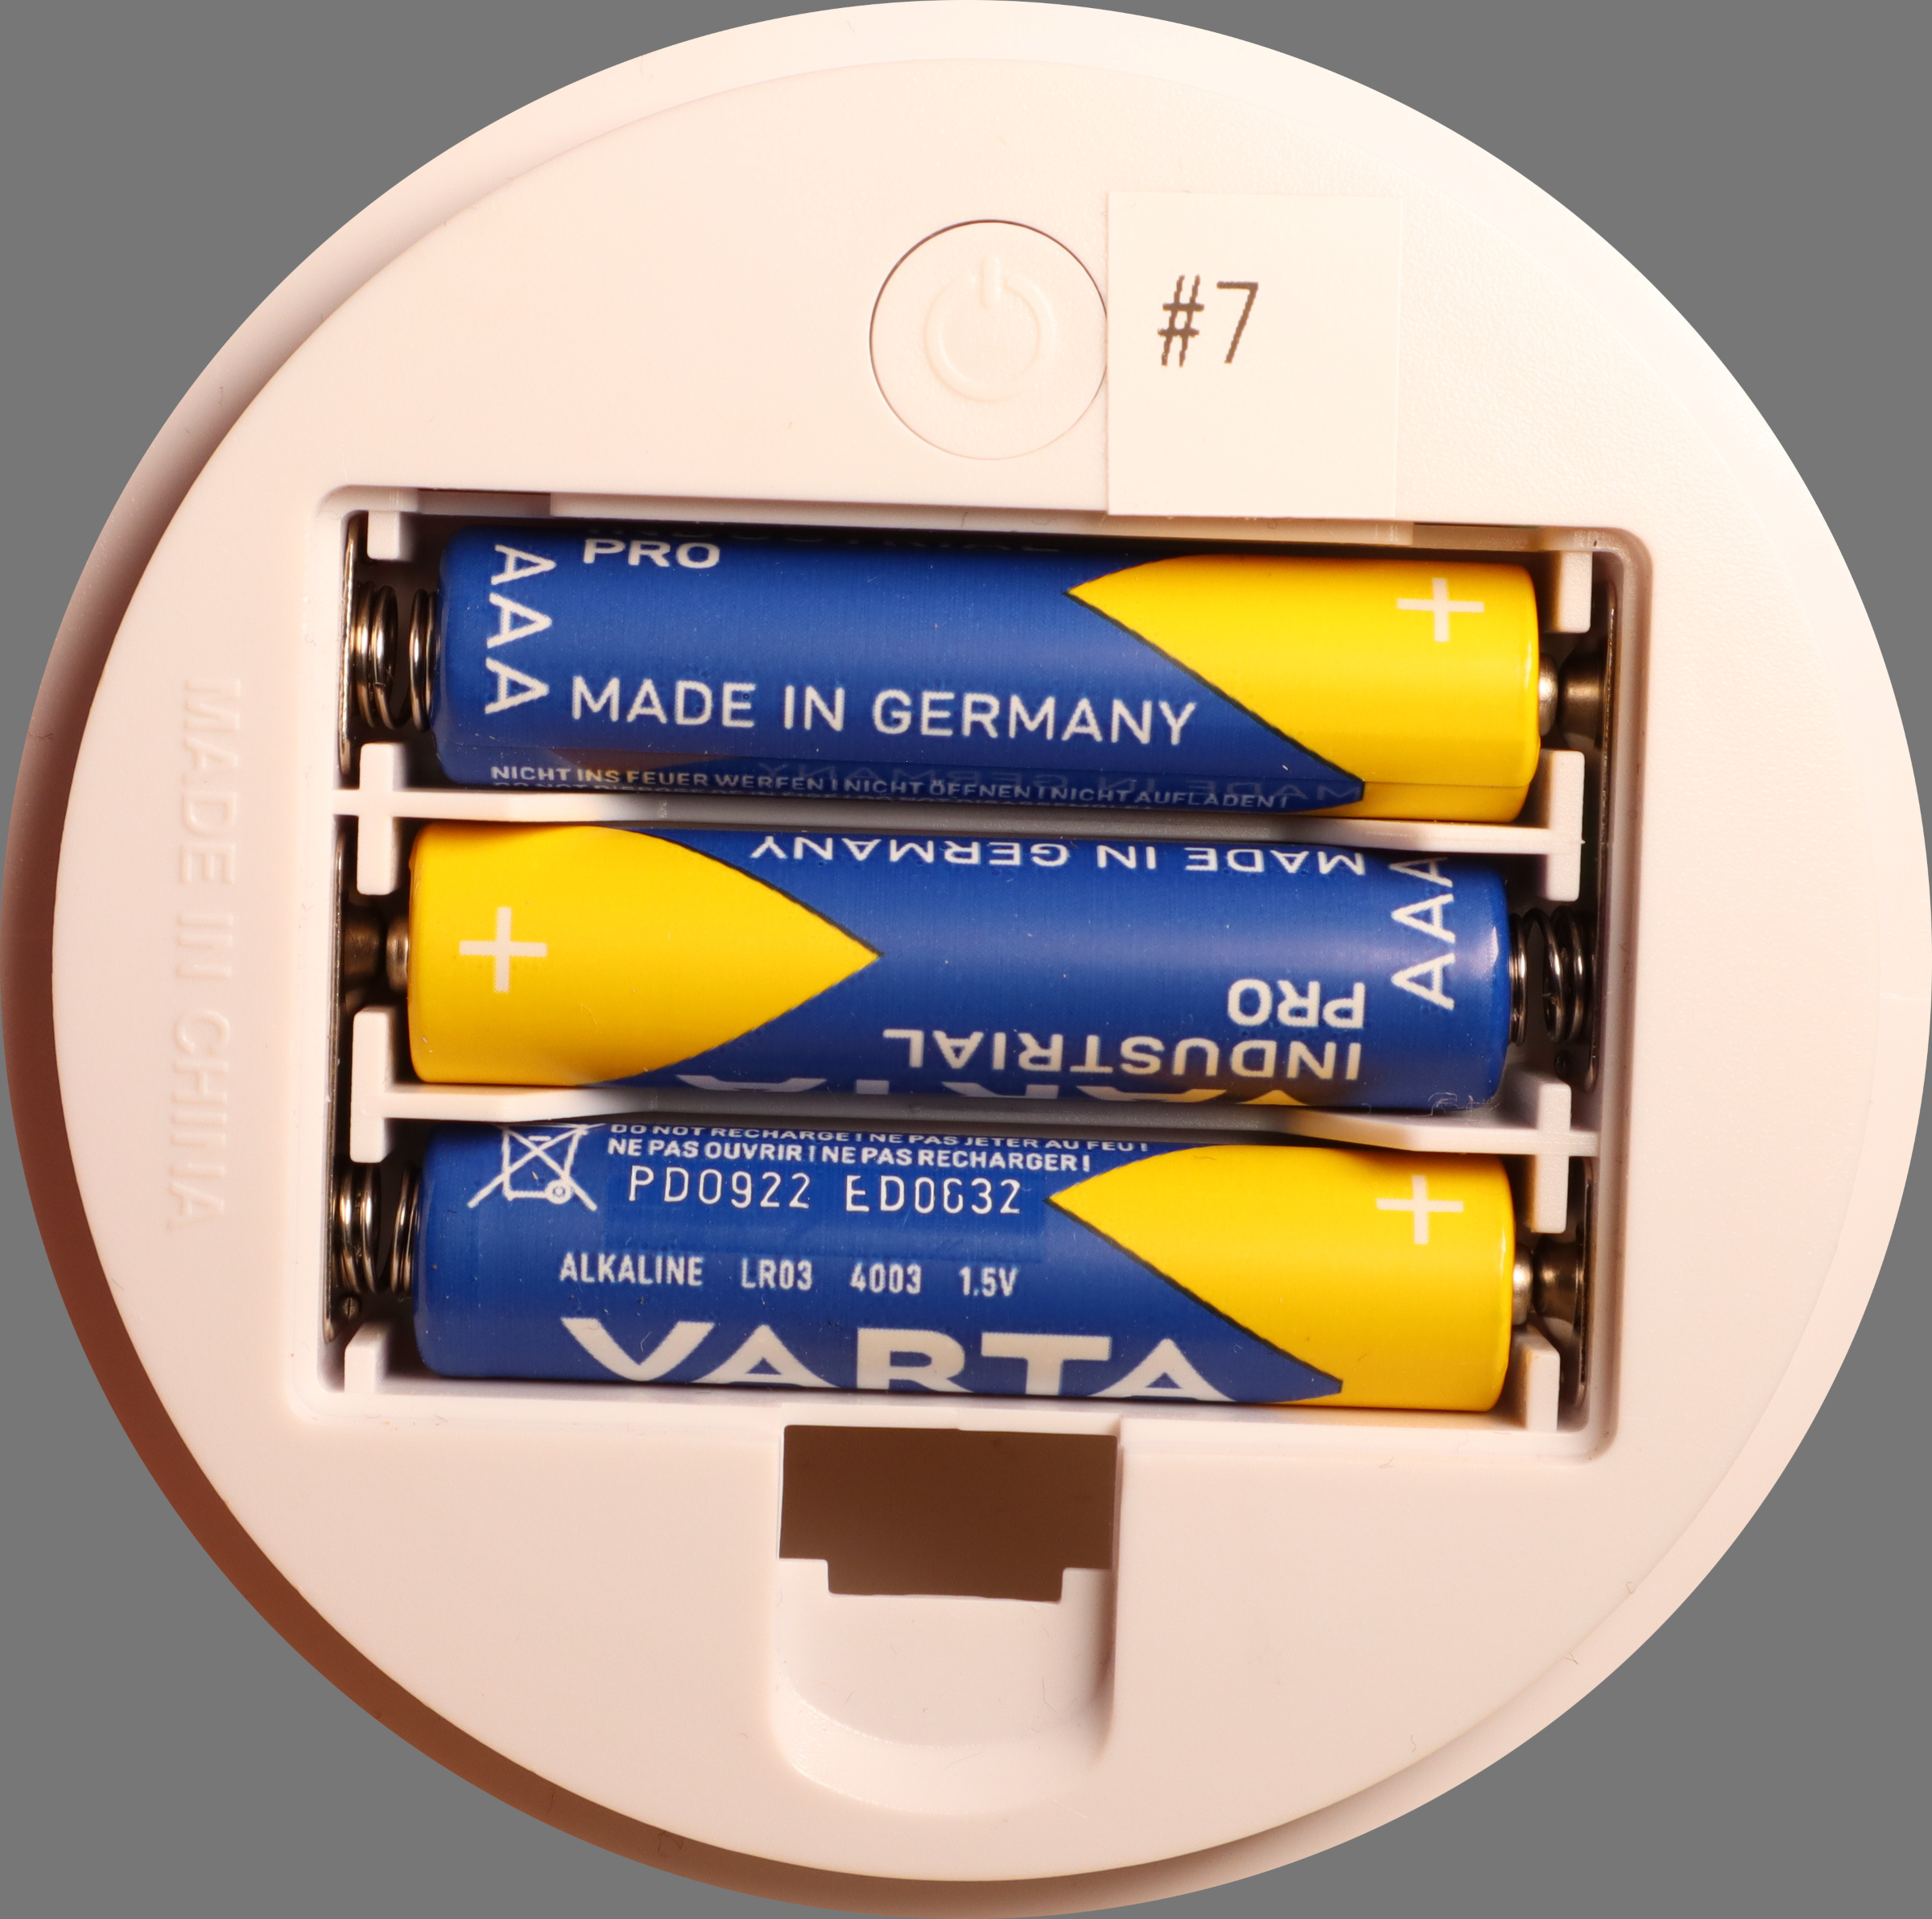
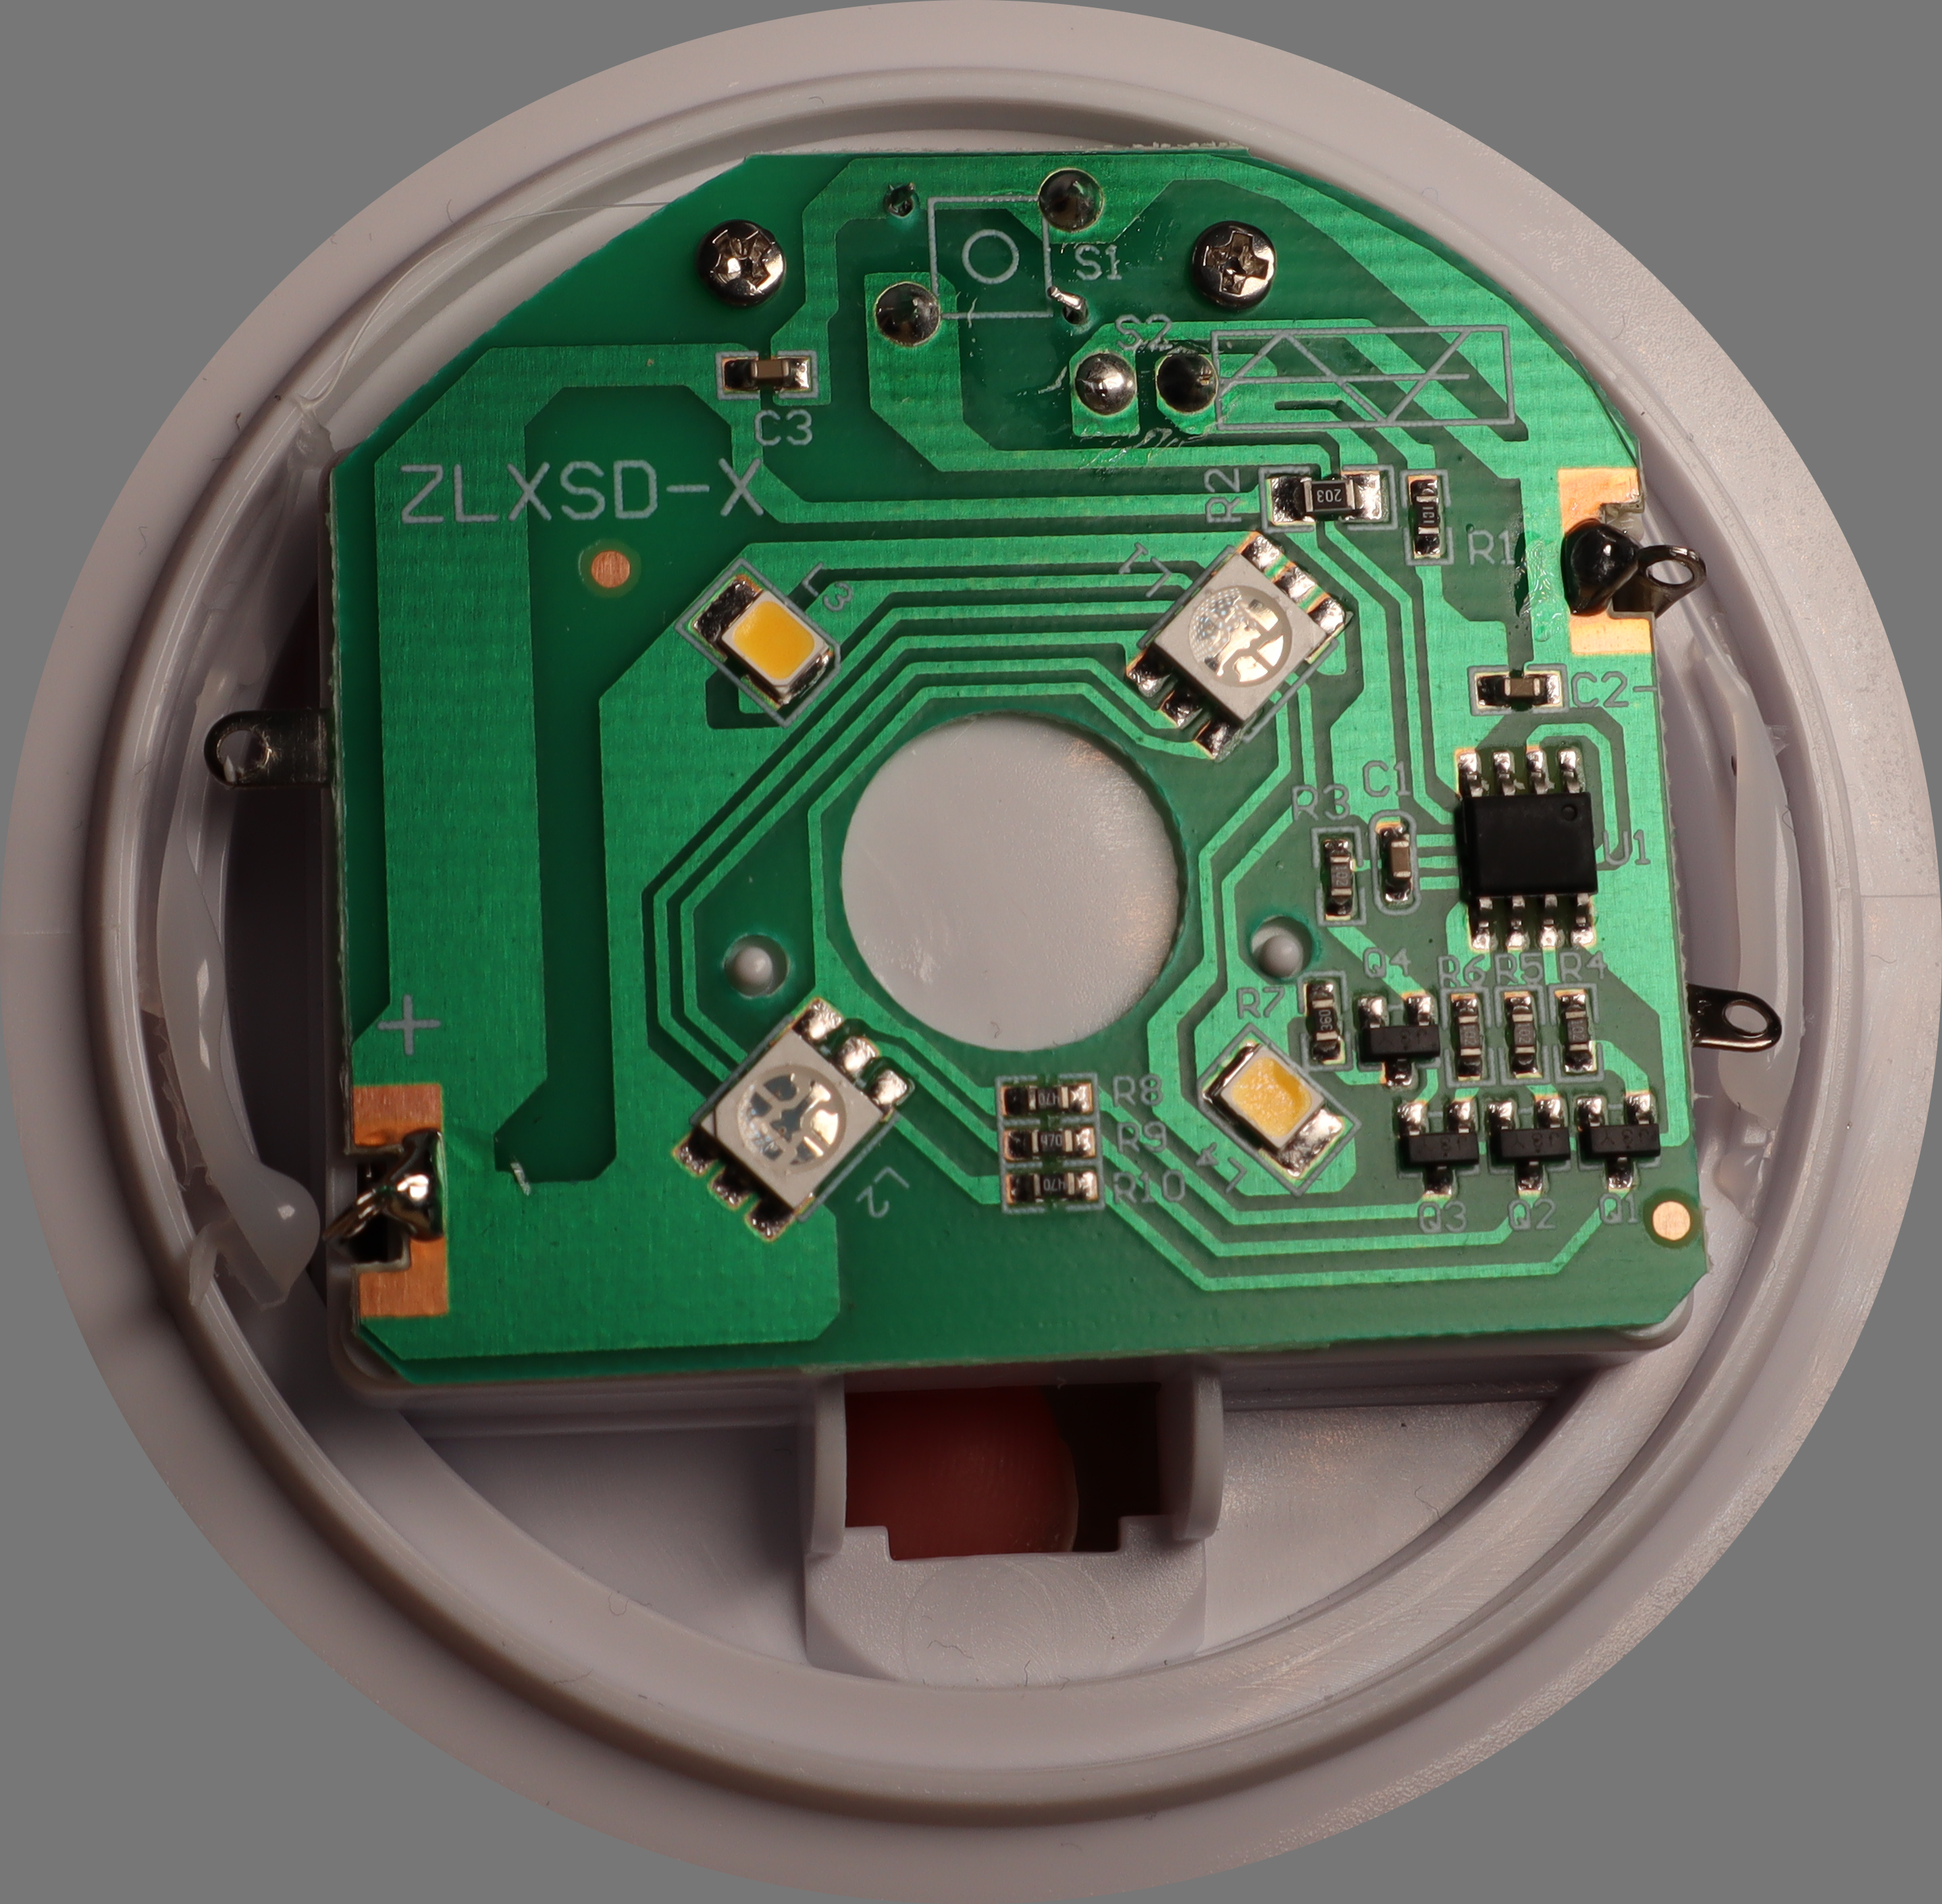
Bought in spring 2023, PCB marks "ZLXSD-X". These are powered by three AAA batteries, and thanks to the lack of charge controller the PCB is really simple: four MOSFET LED drivers, a button for turning it on/off, and a spring contact for switching between warm white and RGB. The light automatically turns off after an hour. The silicone head is significantly smaller than in the 18650 LiIon variant and these, too, come with a diffusor.
Current draw at 4.6 V:
- off: < 1 µA
- warm white: 48 mA
- RGB: up to 100 mA
Assuming 1 Ah battery capacity, this gives a runtime of about 20 hours per battery set.
I have not modified them yet.
Blinkencat 8 and 9
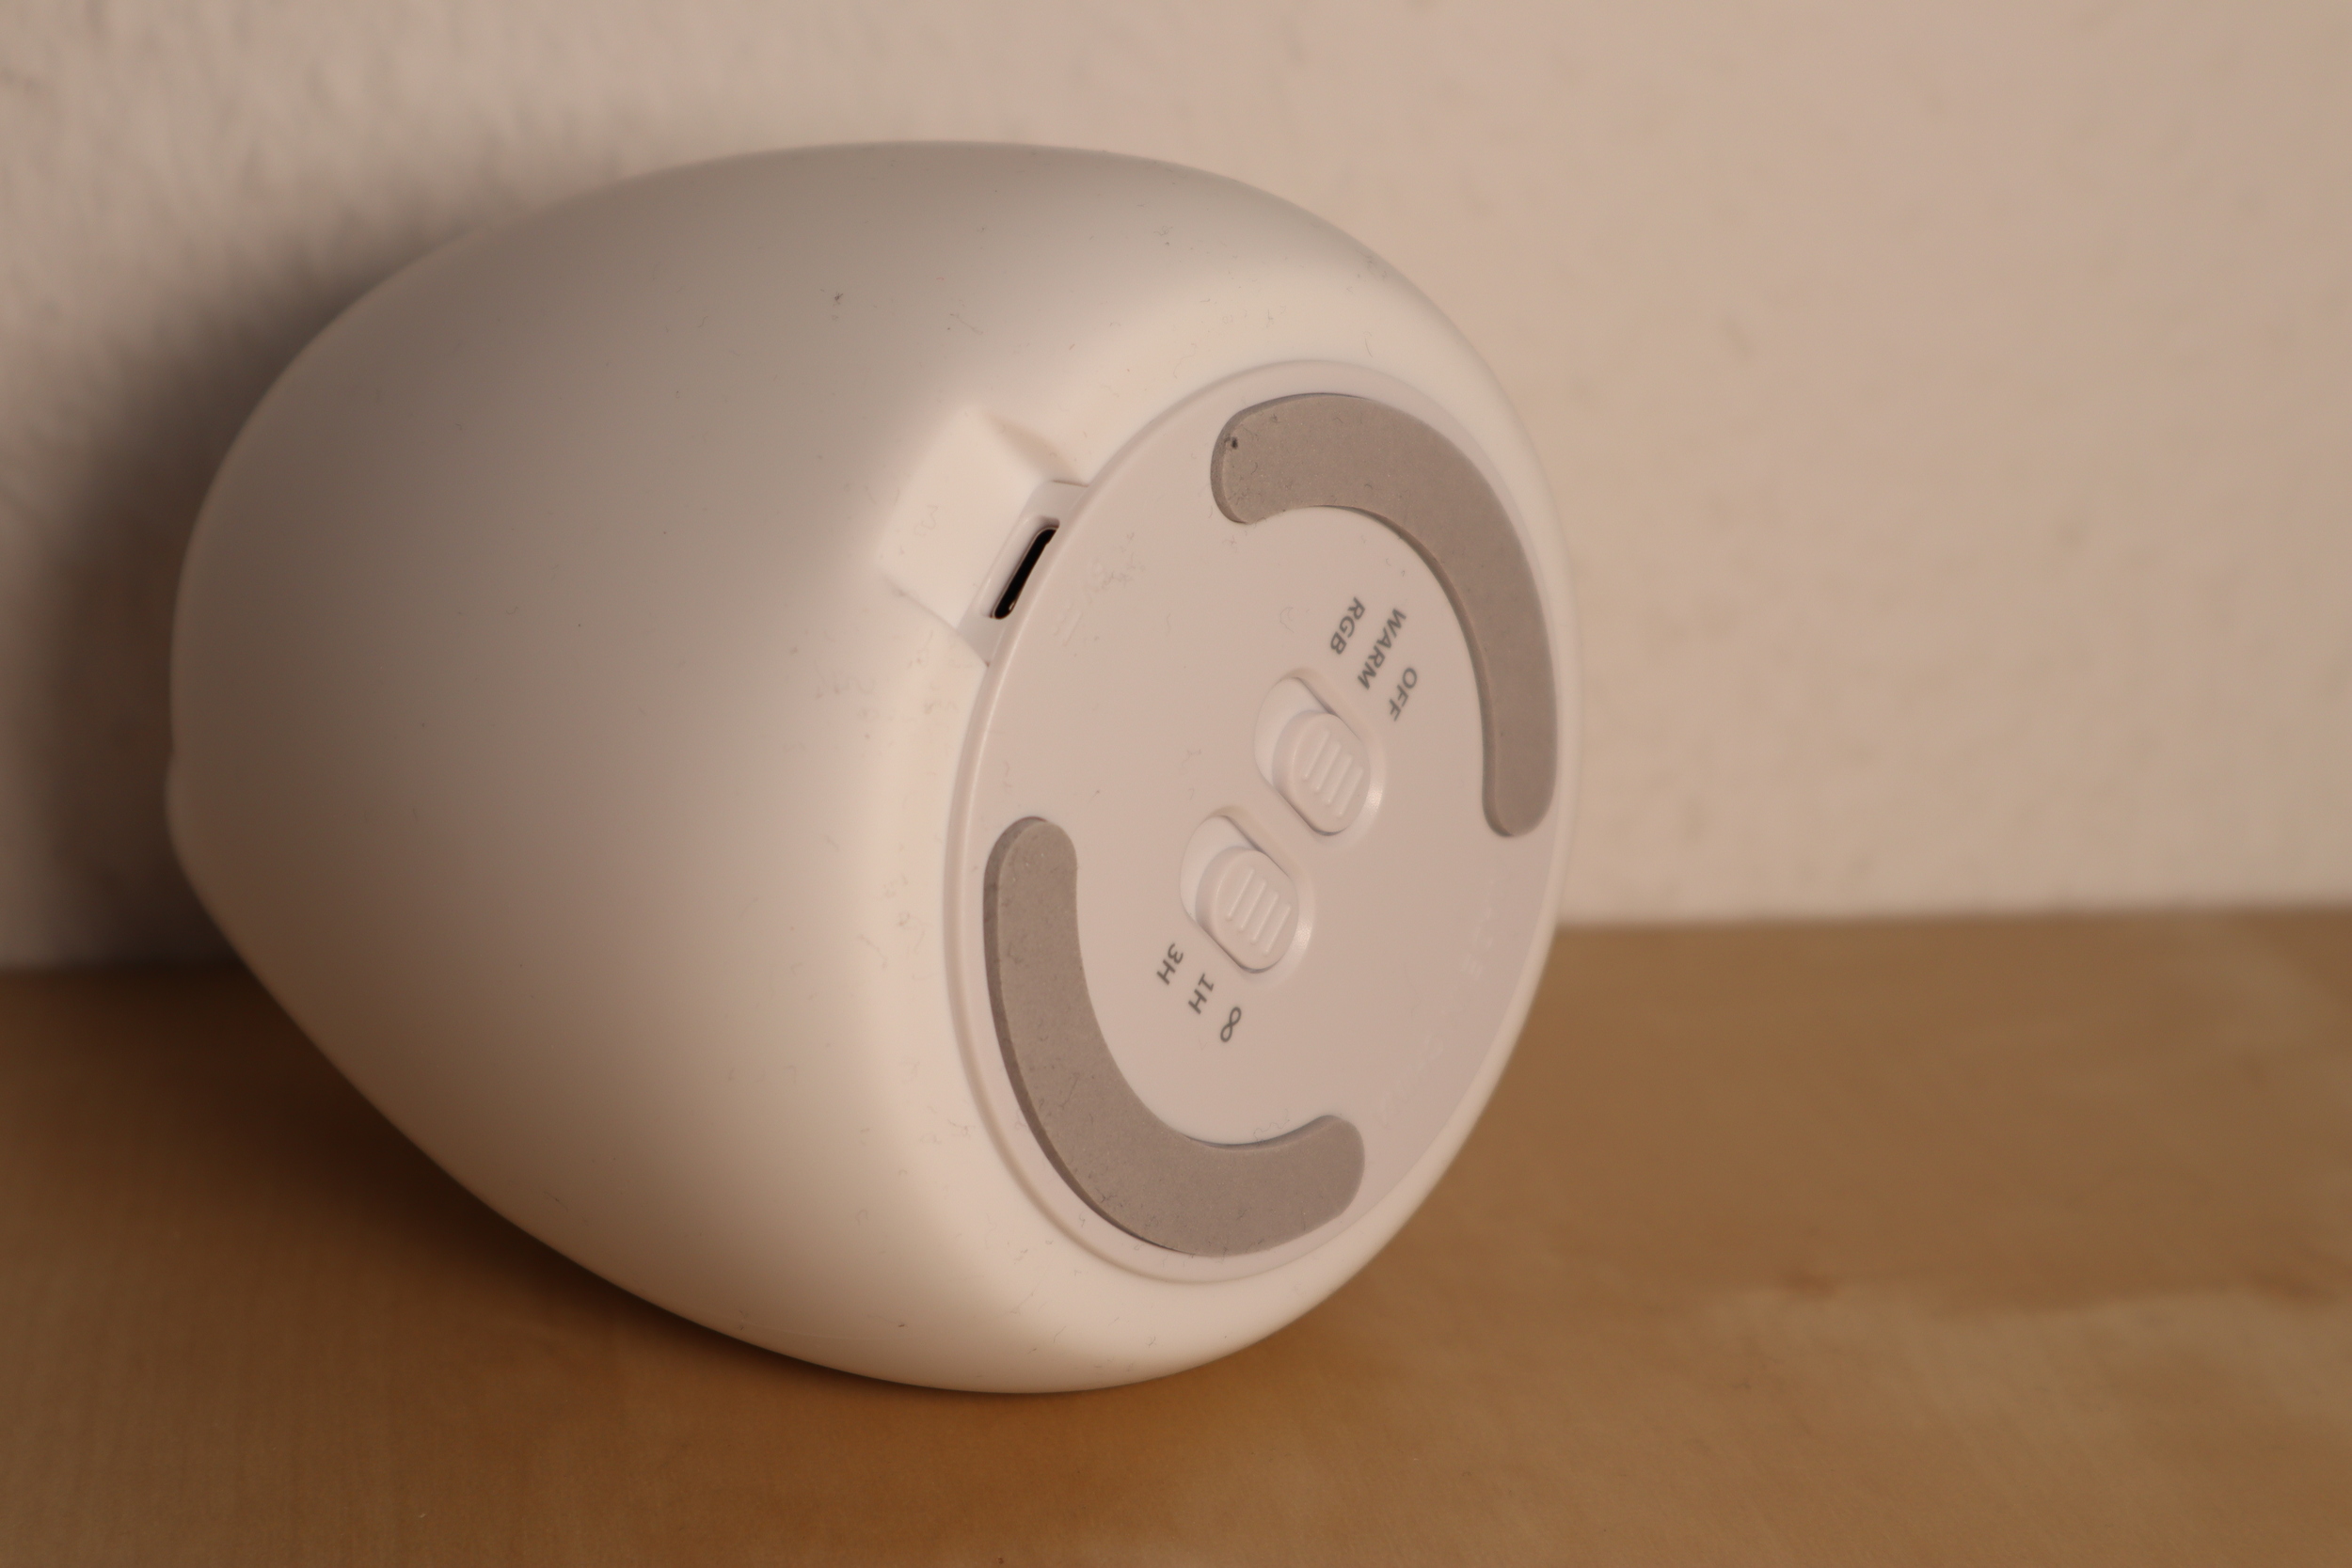
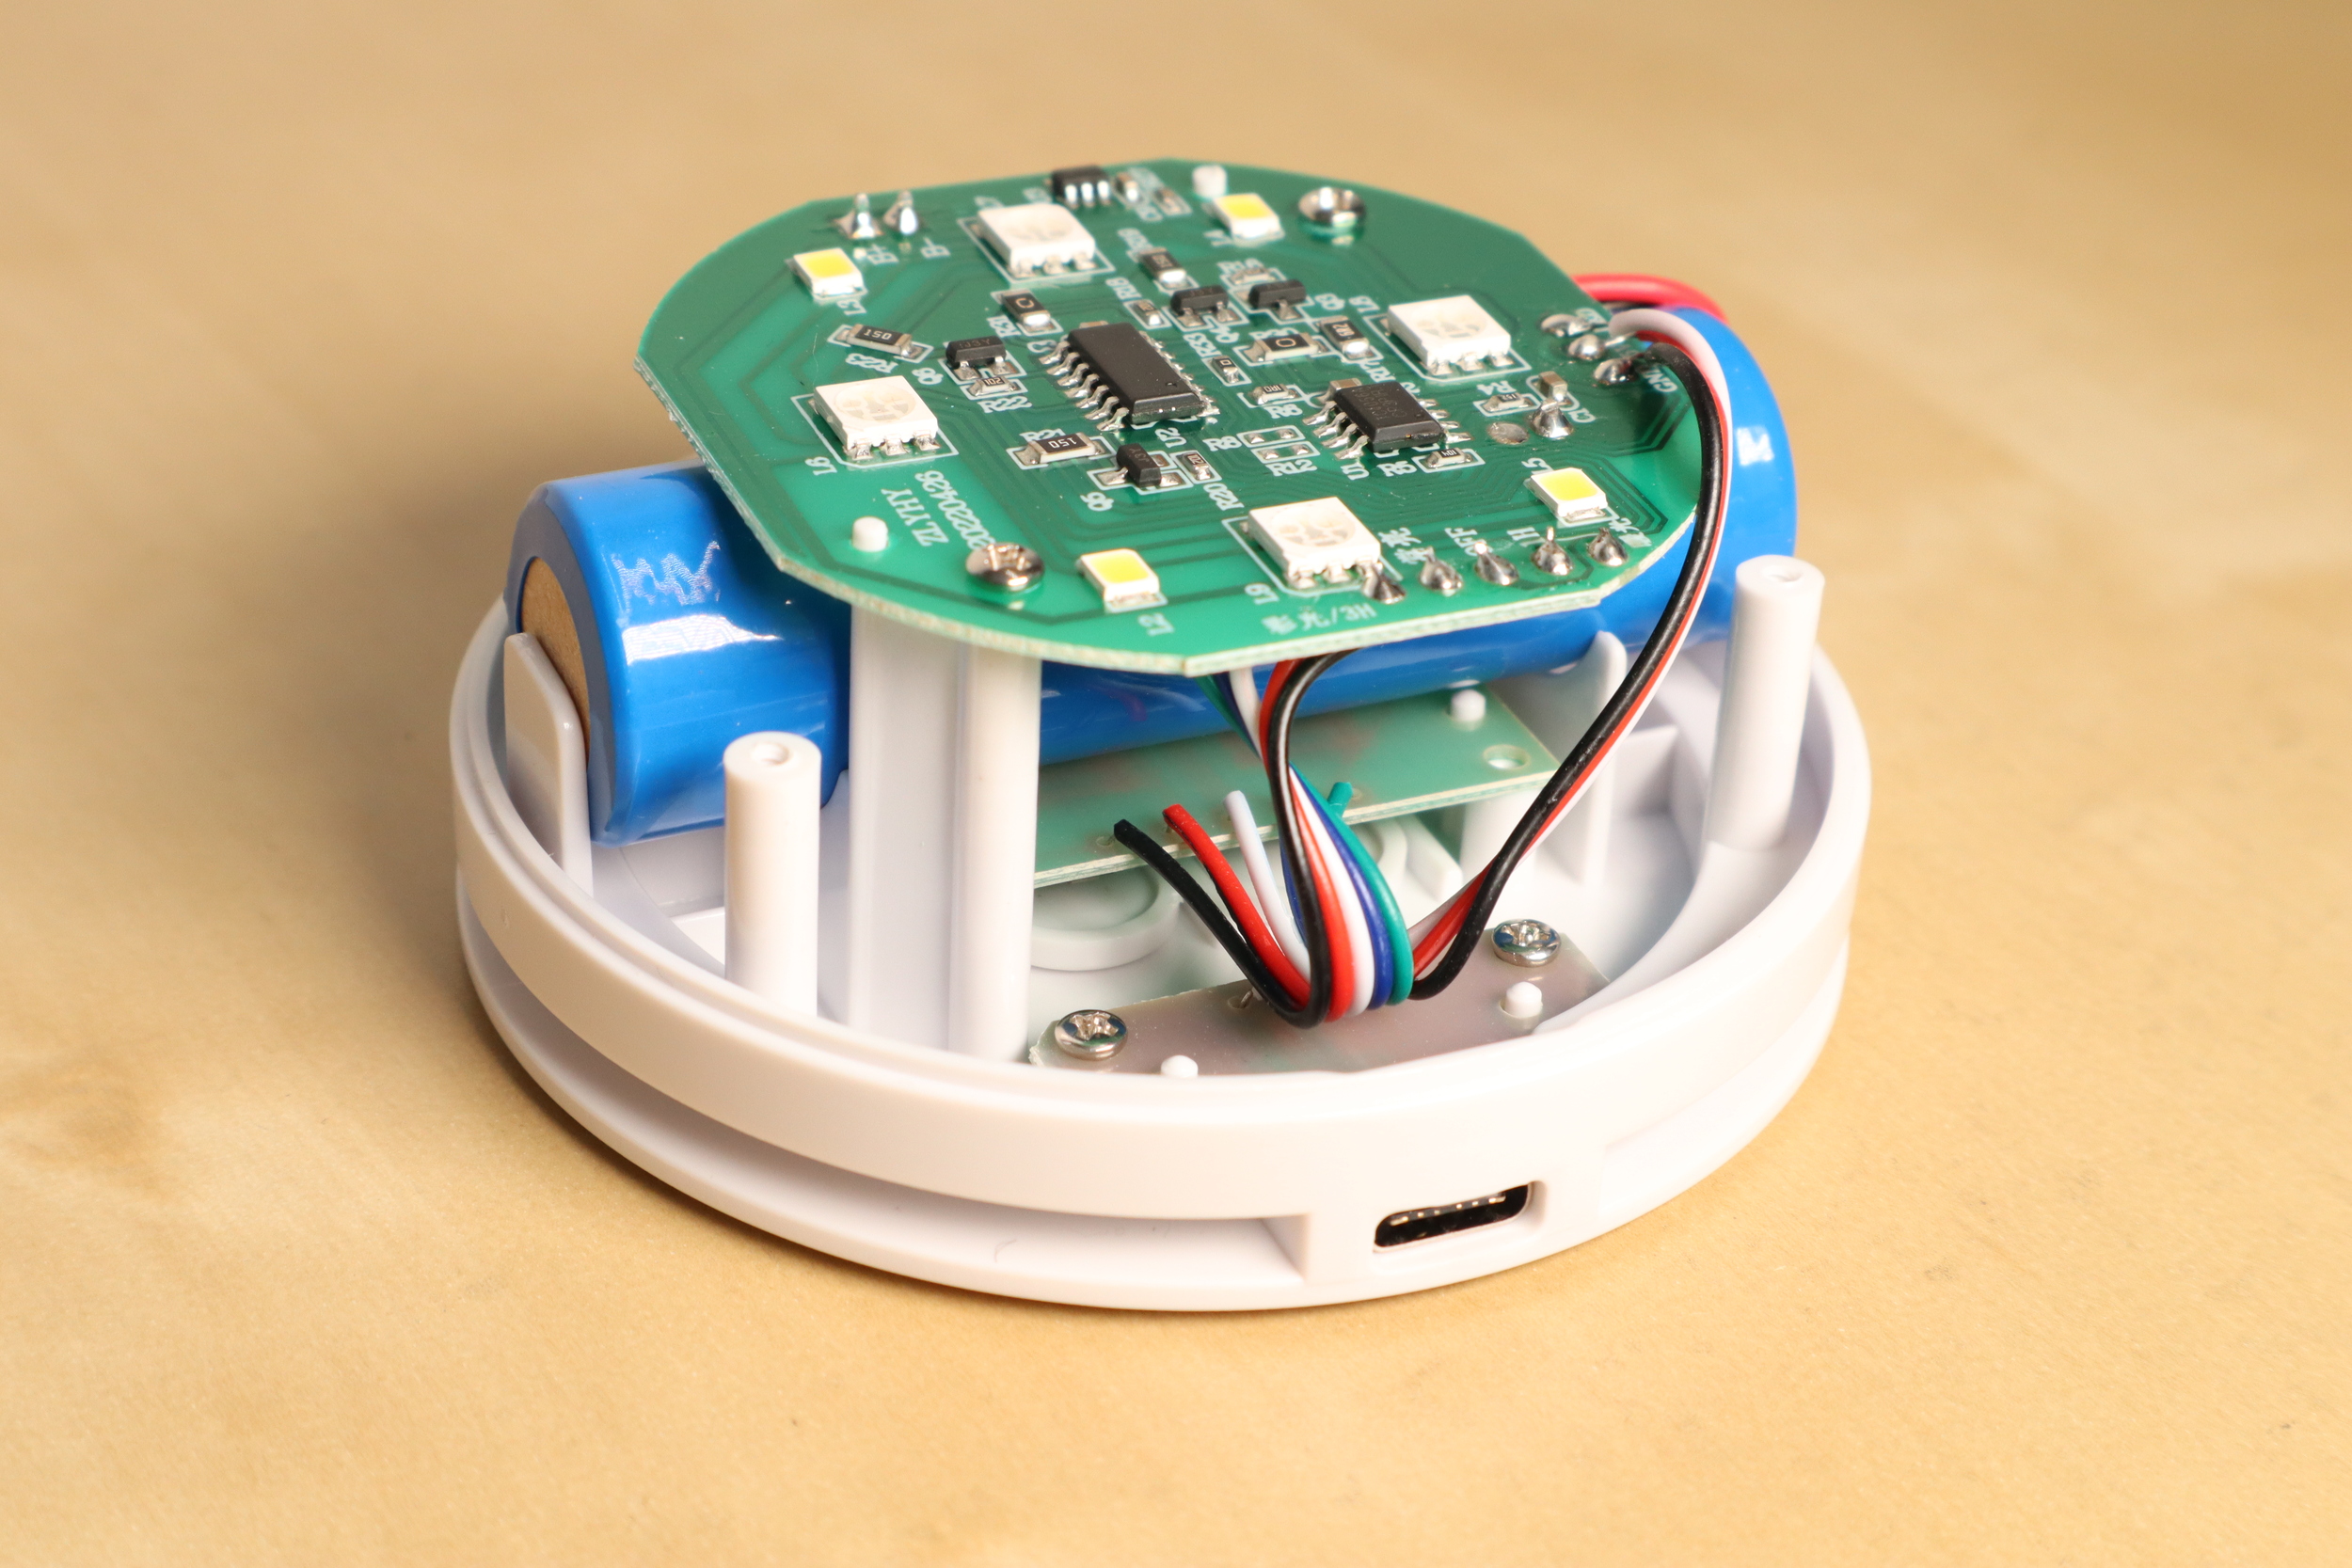
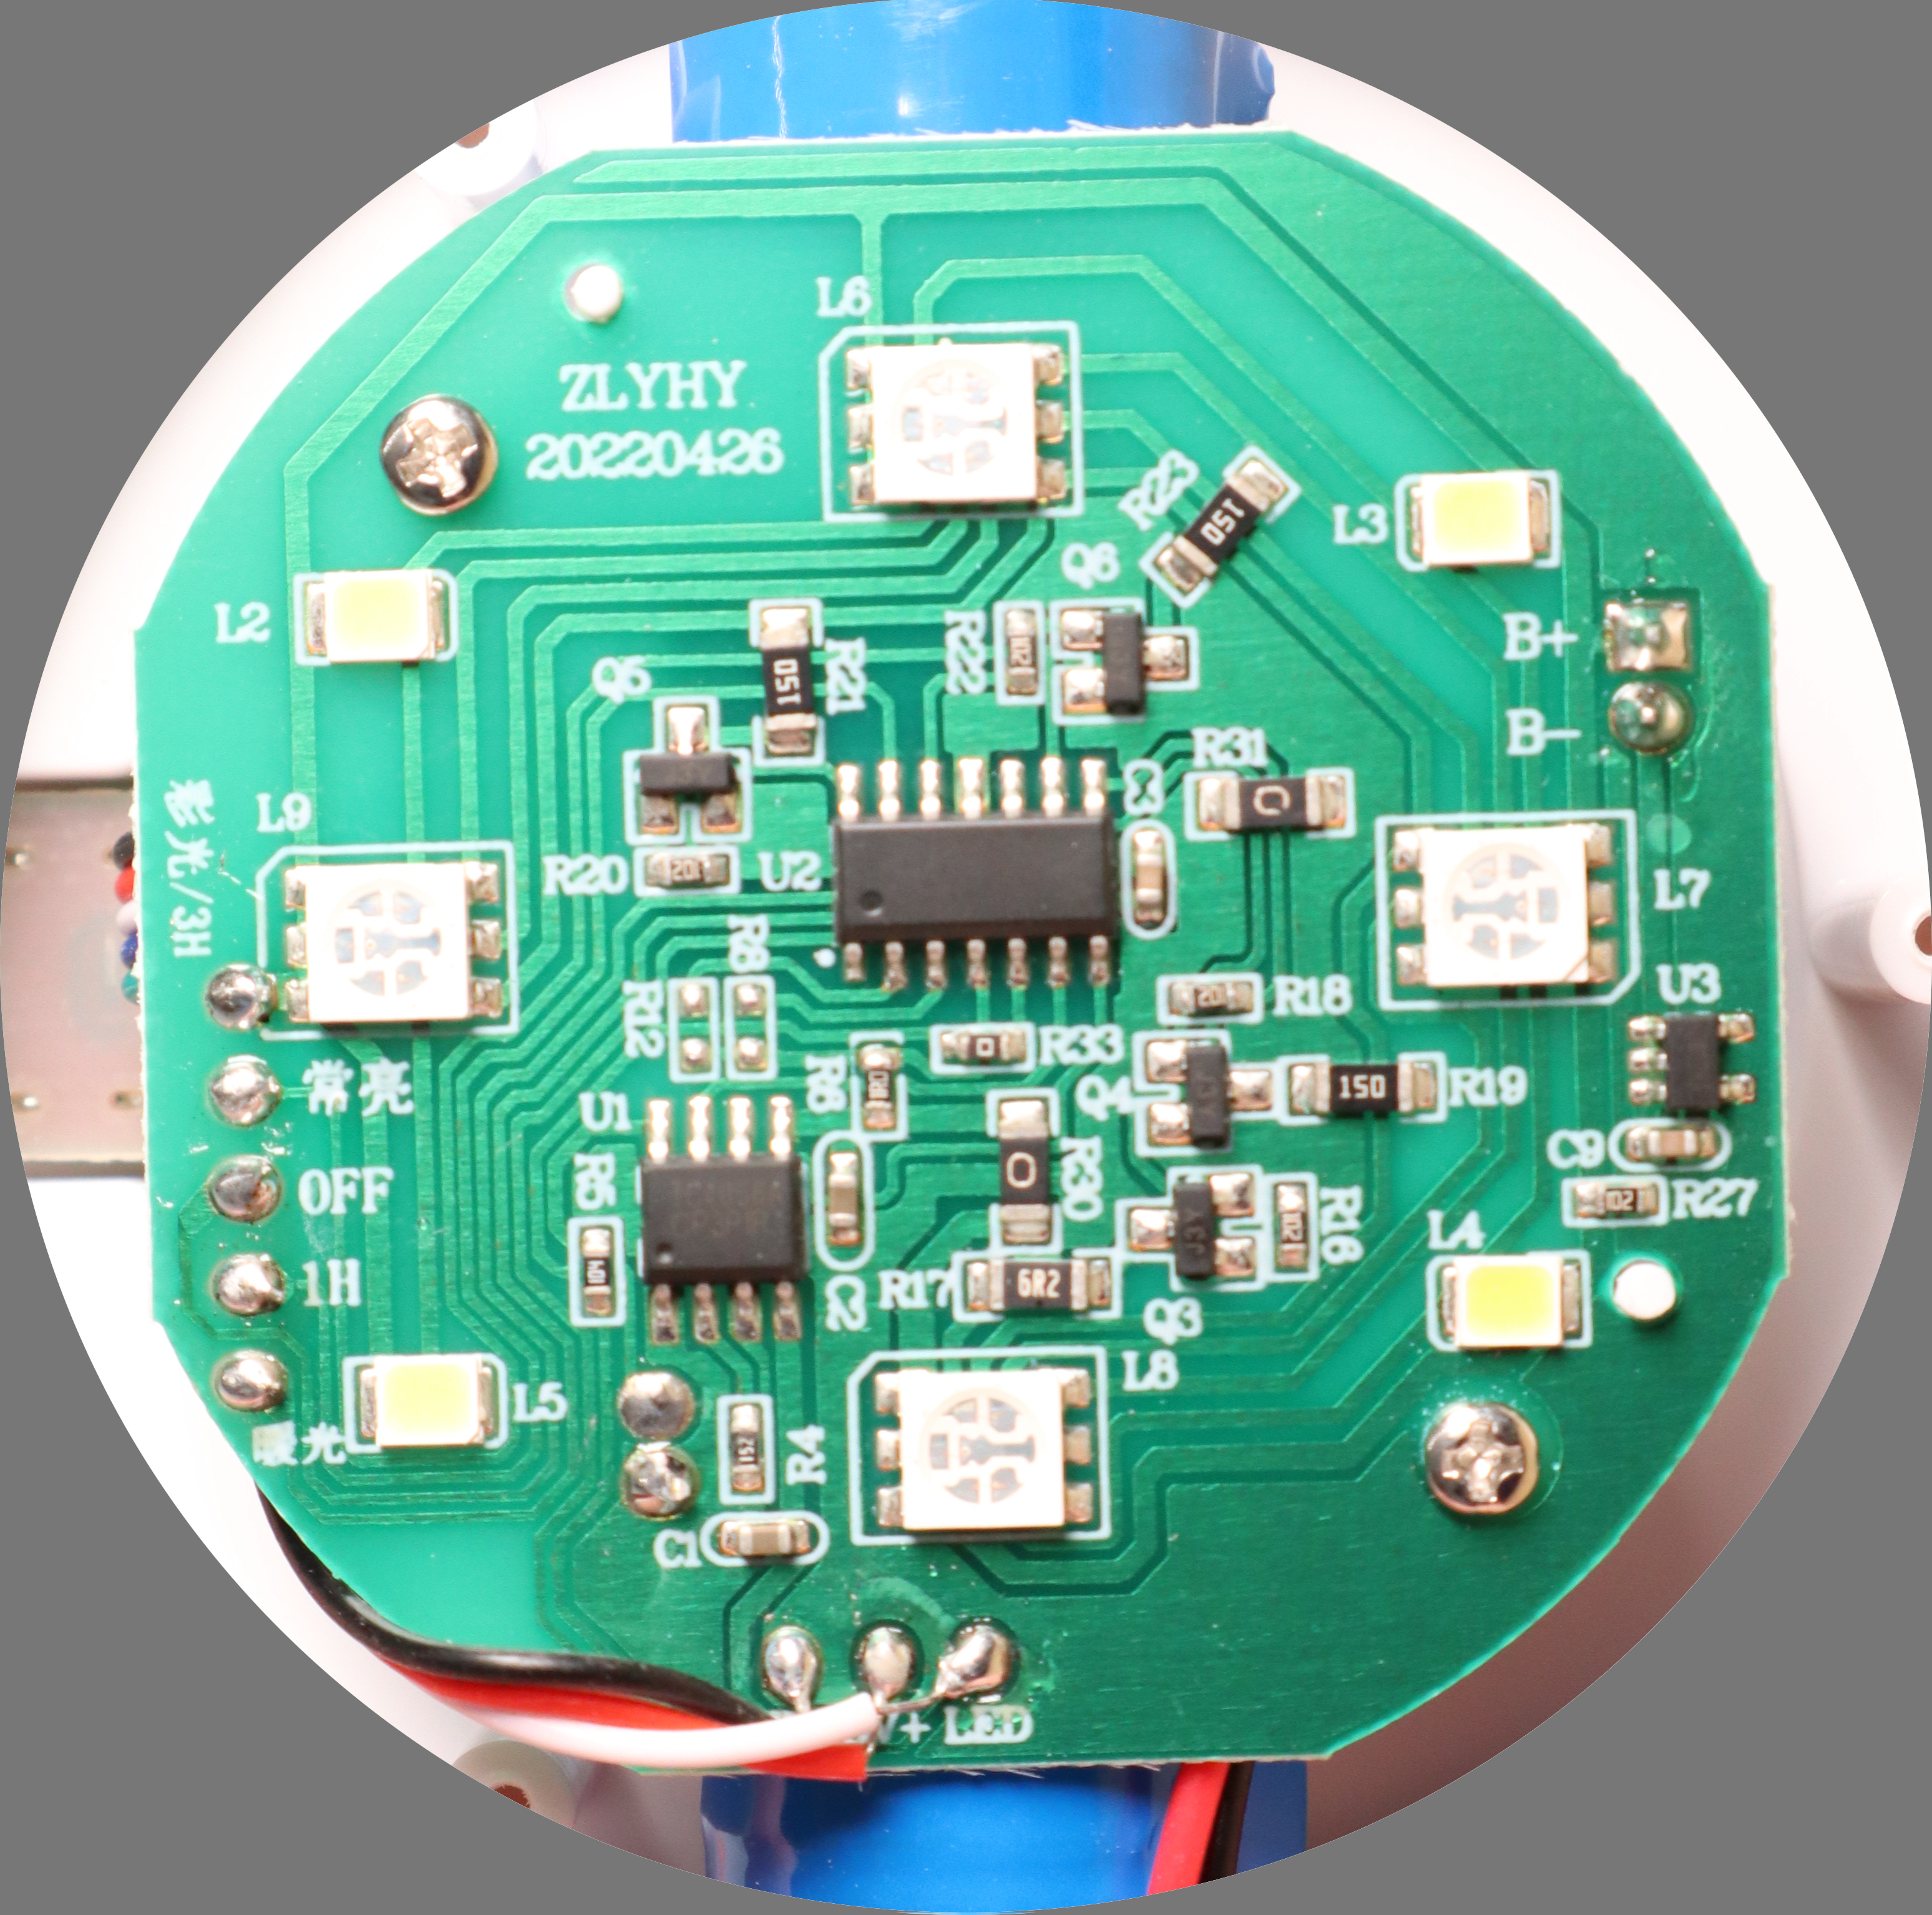
Bought in summer 2023, PCB marks "ZLYHY 20220426". The 18650 LiIon cell is marked as "BJY 18650 1200mAh 3.7V 2023 M".
There are lots of changes to previous versions:
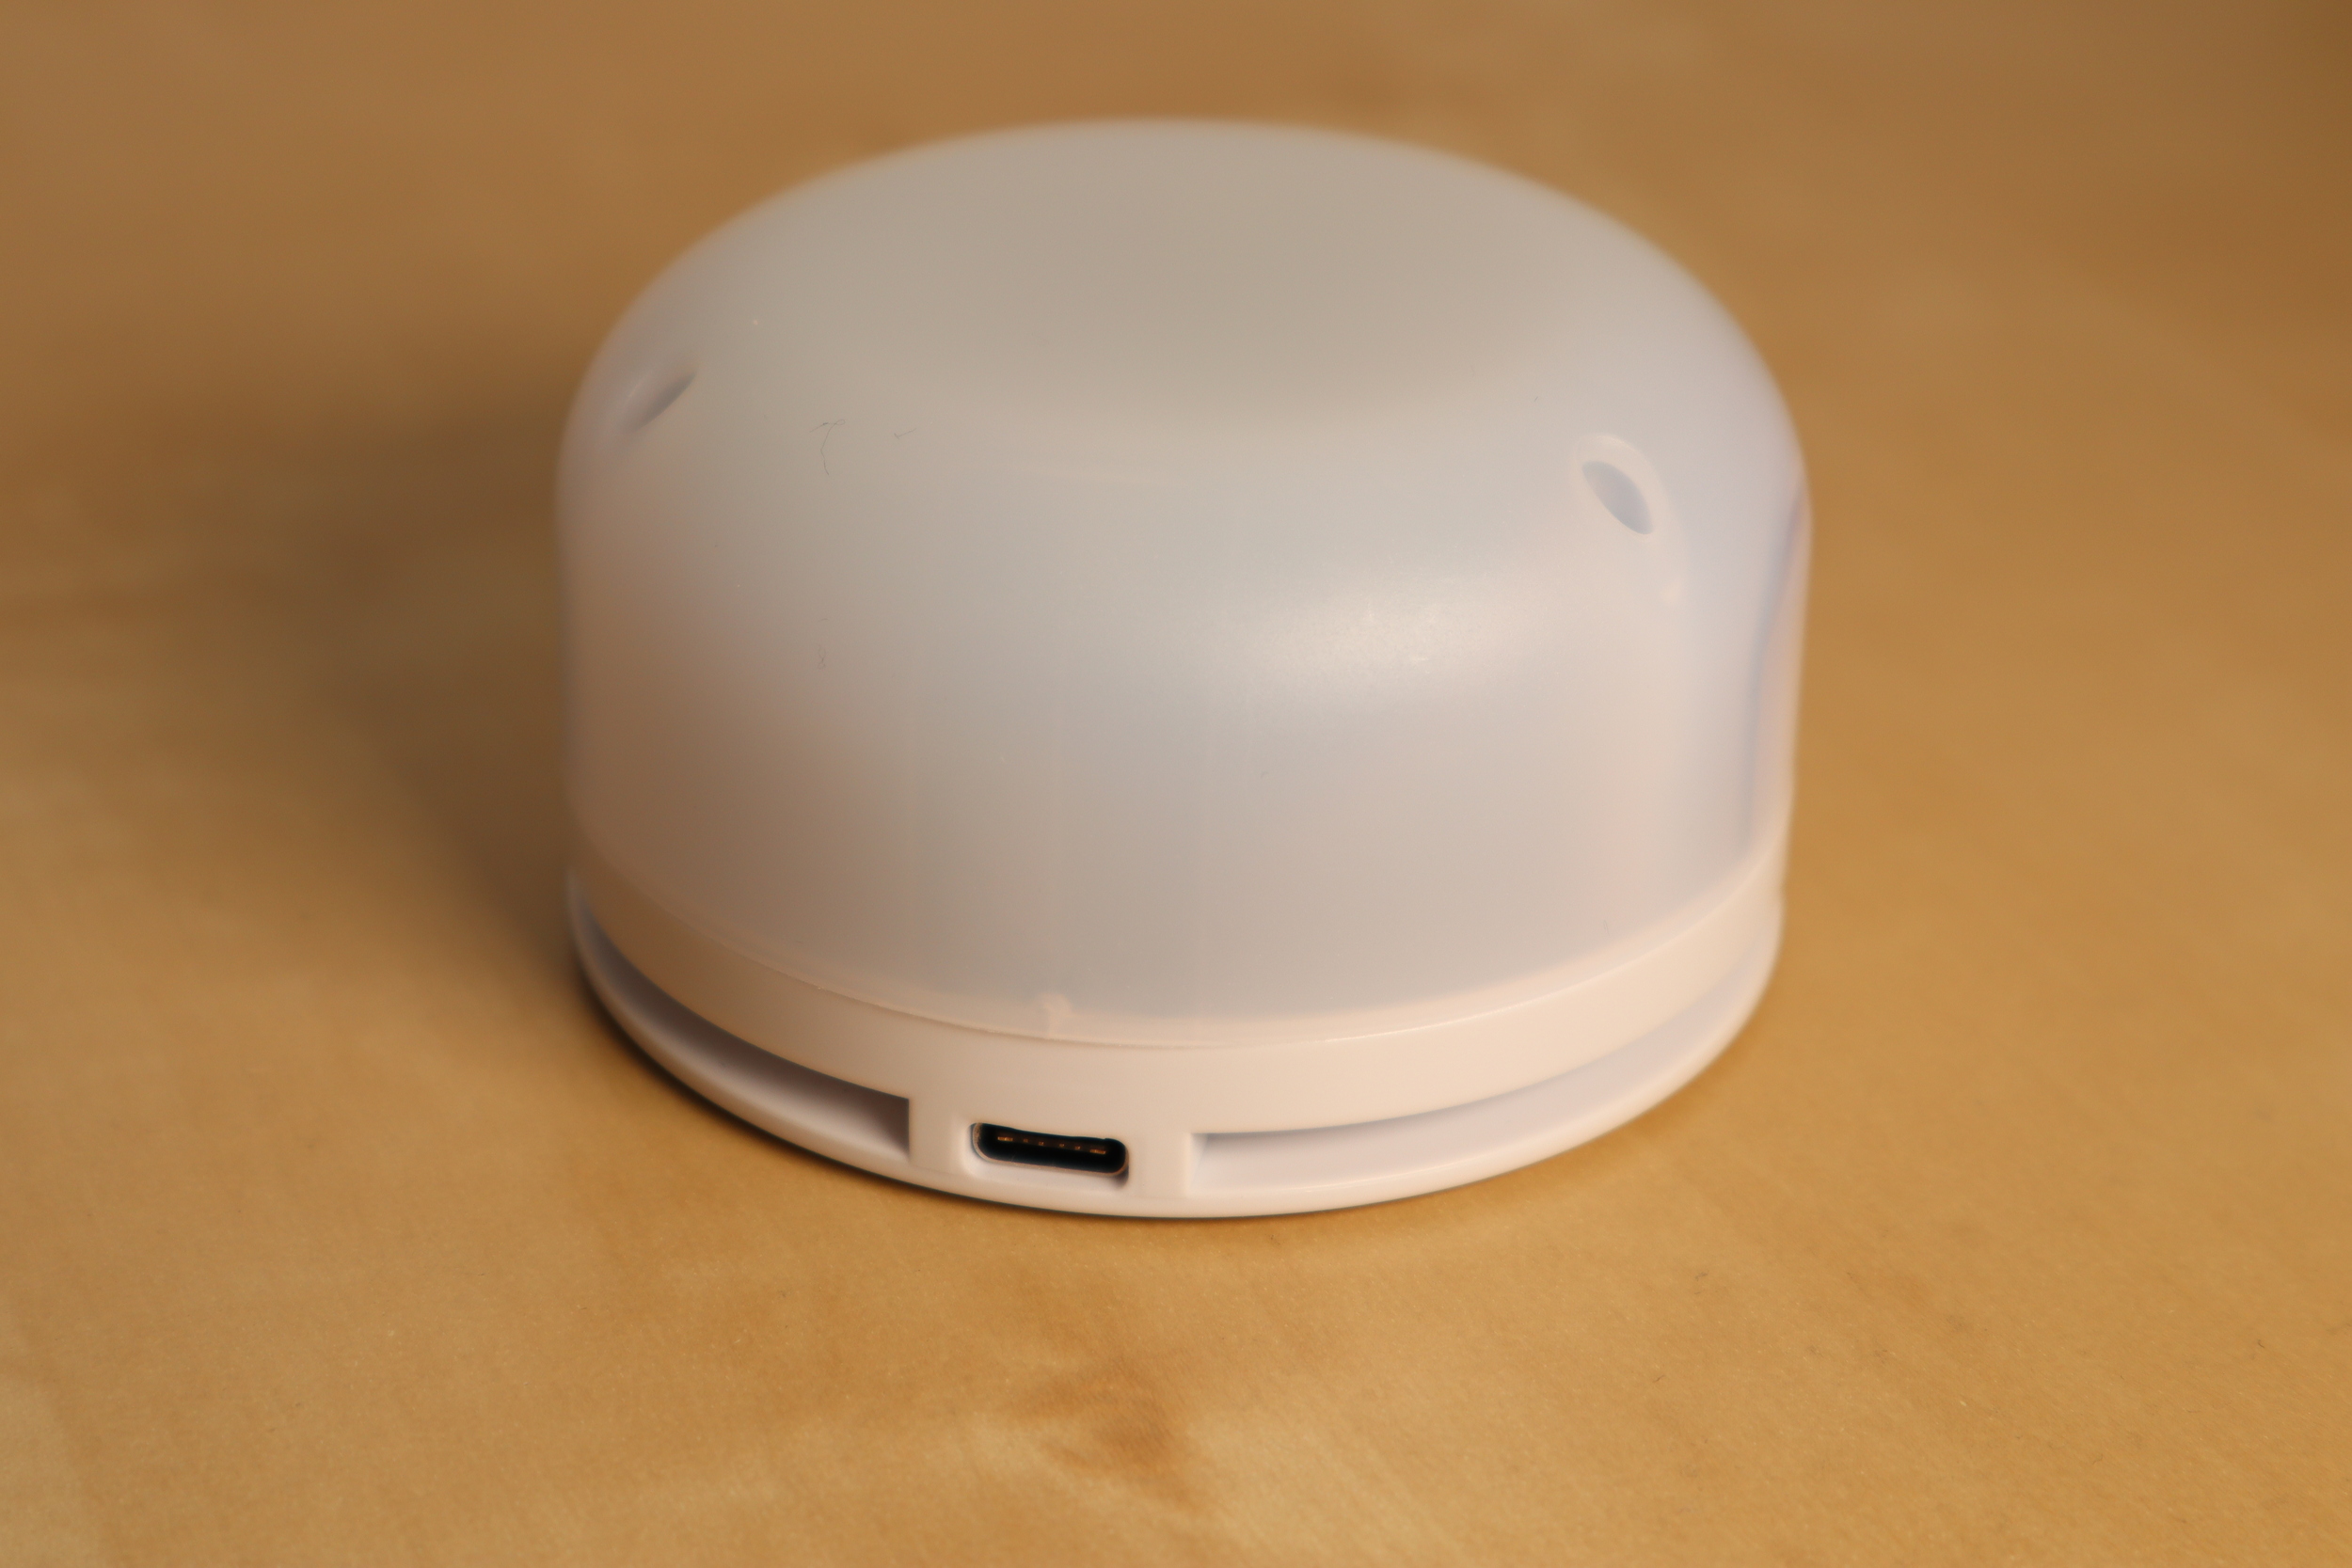
- The battery is charged via USB-C (and there are pull-downs in place, so charging works with any standard-compliant USB-C supply)
- The USB port has been moved to the side, so the blinkencat can be charged while standing upriht
- The single on/off button has been replaced wiht two switches: one for mode selection (off / white / RGB) and one for timed operation (∞ / 1 hour / 3 hours).
The spring contact for 'tap to interact' is stil present. It adjusts brightness in white mode and switches between fading / steady color in RGB mode.
Charging: up to 850 mA at 5.2 V.
The Blinkencat automatically turns off after some hours of operation, likely once a battery voltage threshold is crossed. It will only turn on again once connected to a charger. This makes it significantly safer than previous instances.
I have not modded them yet.