Recently, I managed to drop my Canon EOS M50 while changing lenses. The fall wasn't that high (maybe 20cm, give or take), but exerted enough force on the body to dislodge the viewfinder's eyecup. This caused the viewfinder's proximity sensor to always detect something (namely, the eyecup's plastic), which, in turn, meant that the camera would no longer operate its 3" LCD – after all, someone was using the viewfinder, so better turn it off in order to save power.

Trying to shove the eyecup back into place did not work at all, and the fact that Canon does not treat it as user-serviceable or -replaceable did not bode too well. After a few weeks' worth of hesitation, I decided to try disassembling the camera up to the eyecup and repair / re-align it myself. It was long out of warranty, so at least I culd not void anything by trying my luck. There was just the risk of “verschlimmbessern” (making something worse by trying to improve), i.e., breaking the camera entirely when trying to repair it.
So, as usual: only do this if you know what you're doing, and don't blame me if something breaks.
Disassembly
Getting to the eyecup requires removal of nine (black, plastic?) PH0 screws and two parts of the camera's plastic shell. I did not check the screw types thoroughly – they all seemed quite similar, but I still made sure to re-apply each screw to the correct hole just to be on the safe side.
First, remove the microphone and NFC cover on the left. It is held in place by three screws, and can be carefully lifted out once they are loose. There are no plastic clips or anything, so you should not need to apply force.


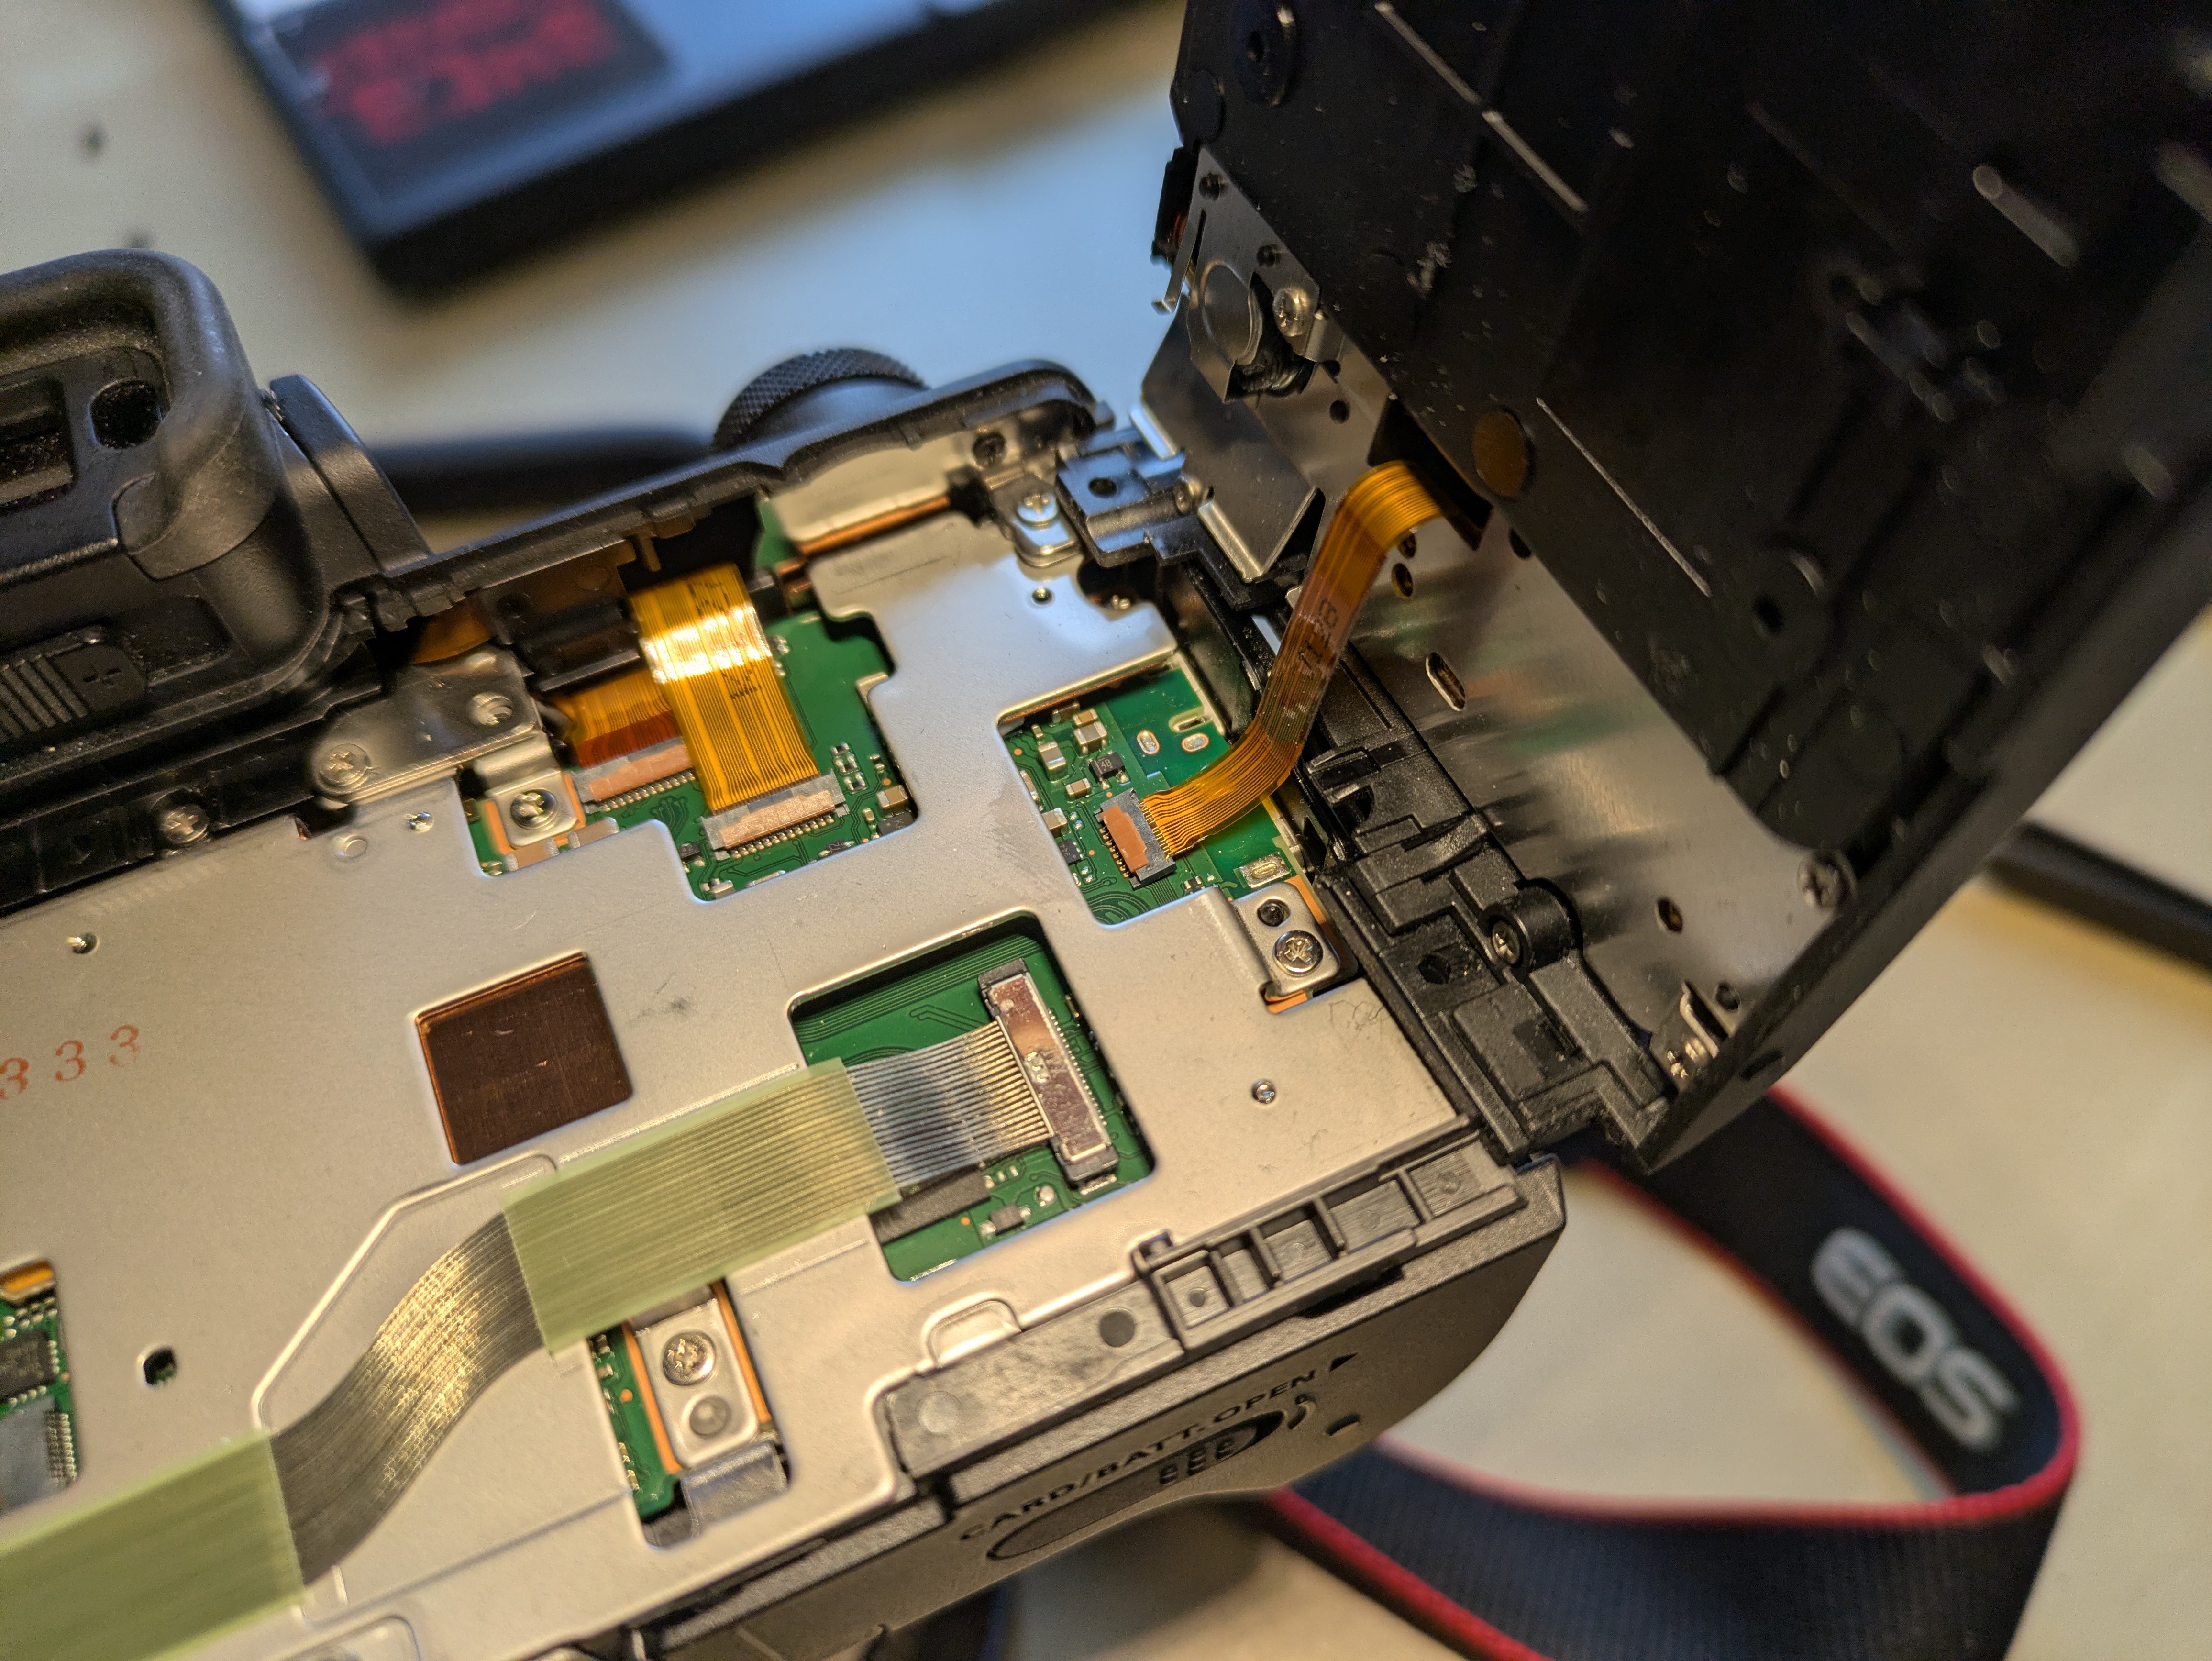
Then, flip out the 3" LCD so that it is out of the way and reveals two screws below the viewfinder. Remove these, the two screws at the tripod mount, and the two screws on the right side. The plastic part that you can now remove holds control button and is connected to the camera with a flat flex cable right below the control buttons. So, carefully fold out the plastic back (including the control buttons), and tilt it to the right to avoid stressing said cable. You only need to rotate it by about 90° in order to expose the final (tenth) screw securing the eyecup. You can choose between disconnecting it and storing it somewhere safe, or leaving it connected and being extra careful not to break it.


Repair
Now, remove the metal screw holding the eyecup. In my case, once the screw was out, I could easily move the eyecup back into place (without having to exert force) and was already done with the repair. I expect that you can also replace the entire eyecup at this point, but I did not try that.

Re-Assembly
- Secure the eyecup with the metal screw
- Reconnect the flat flex cable leading to the control buttons on the back cover
- Snap the back cover back into place. Do not secure it yet.
- Turn on the camera and verify that eyecup / viewfinder, 3" LCD, and the control buttons on the back (next to the LCD) are working
- Turn the camera off
- Secure the back cover with its six black screws
- Snap the side cover back into place
- Secure the side cover with its thre black screws
In my case, I did not verify that the control buttons are working before re-applying all screws. While I had not unplugged the flat flex cable, I had still managed to loosen its connector, so I had to go back and re-connected it in order to have a working camera again. Before proceeding with the re-assembly, the connector should look roughly like this:
Apart from that, this was a pleasantly straightforward repair, and definitely better than just not using the LCD anymore.
